这样即便身处内网连接也会通过设备 PYCELLE 转发。我家的大部分网络服务都位于这台设备上,但同时也有 NAS 和路由器。一般情况下这么写都没问题,但如果遇到 Mac mini 升级我的 Surge 就完全无法访问内网,电脑使用 NAS 备份也会先经过一次 PYCELLE 再去到 NAS,略显低效。
**2024-06-01 Update: **我为了方便好记给家里的网络设备分配了域名,这些域名能够被公网的 DNS 正常解析。如果你使用 IP 地址访问内网设备那就不存在这篇文章所述的问题。
解决
[Proxy Group]Ponte Link = subnet, default = DEVICE:PYCELLE, SSID:Wintefell = DIRECT, ROUTER:192.168.114.1 = DIRECT[Rule]# 放在靠近末尾的地方IP-CIDR,192.168.114.0/24,Ponte Link
新的办法借助 Subnet Group 实现了近似的功能。需要注意的是因为不能写更复杂的逻辑判断,所以只要网关地址是 192.168.114.1 就直连。考虑到这个网段不常见,就不再深入推敲了。
I’ve been using Typlog as my blogging platform for the past few years. It’s been an excellent product for many reasons — extremely low friction editing experience, easy-to-use dashboard, reliability. I have to admit that I don’t write very often, but when I do, it doesn’t give me a hard time. However, an idea has been keeping bugging me for the past few months.
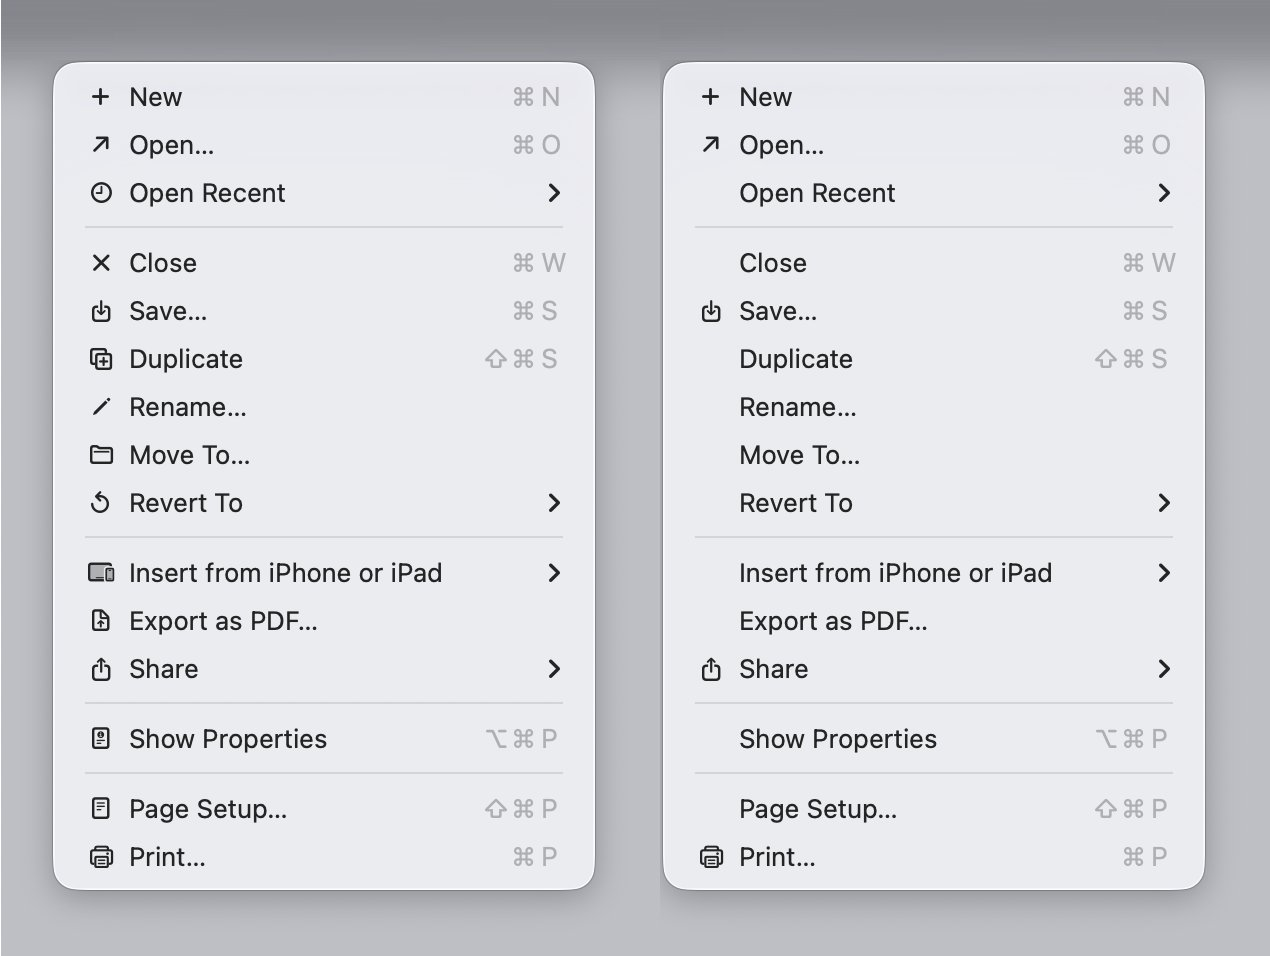
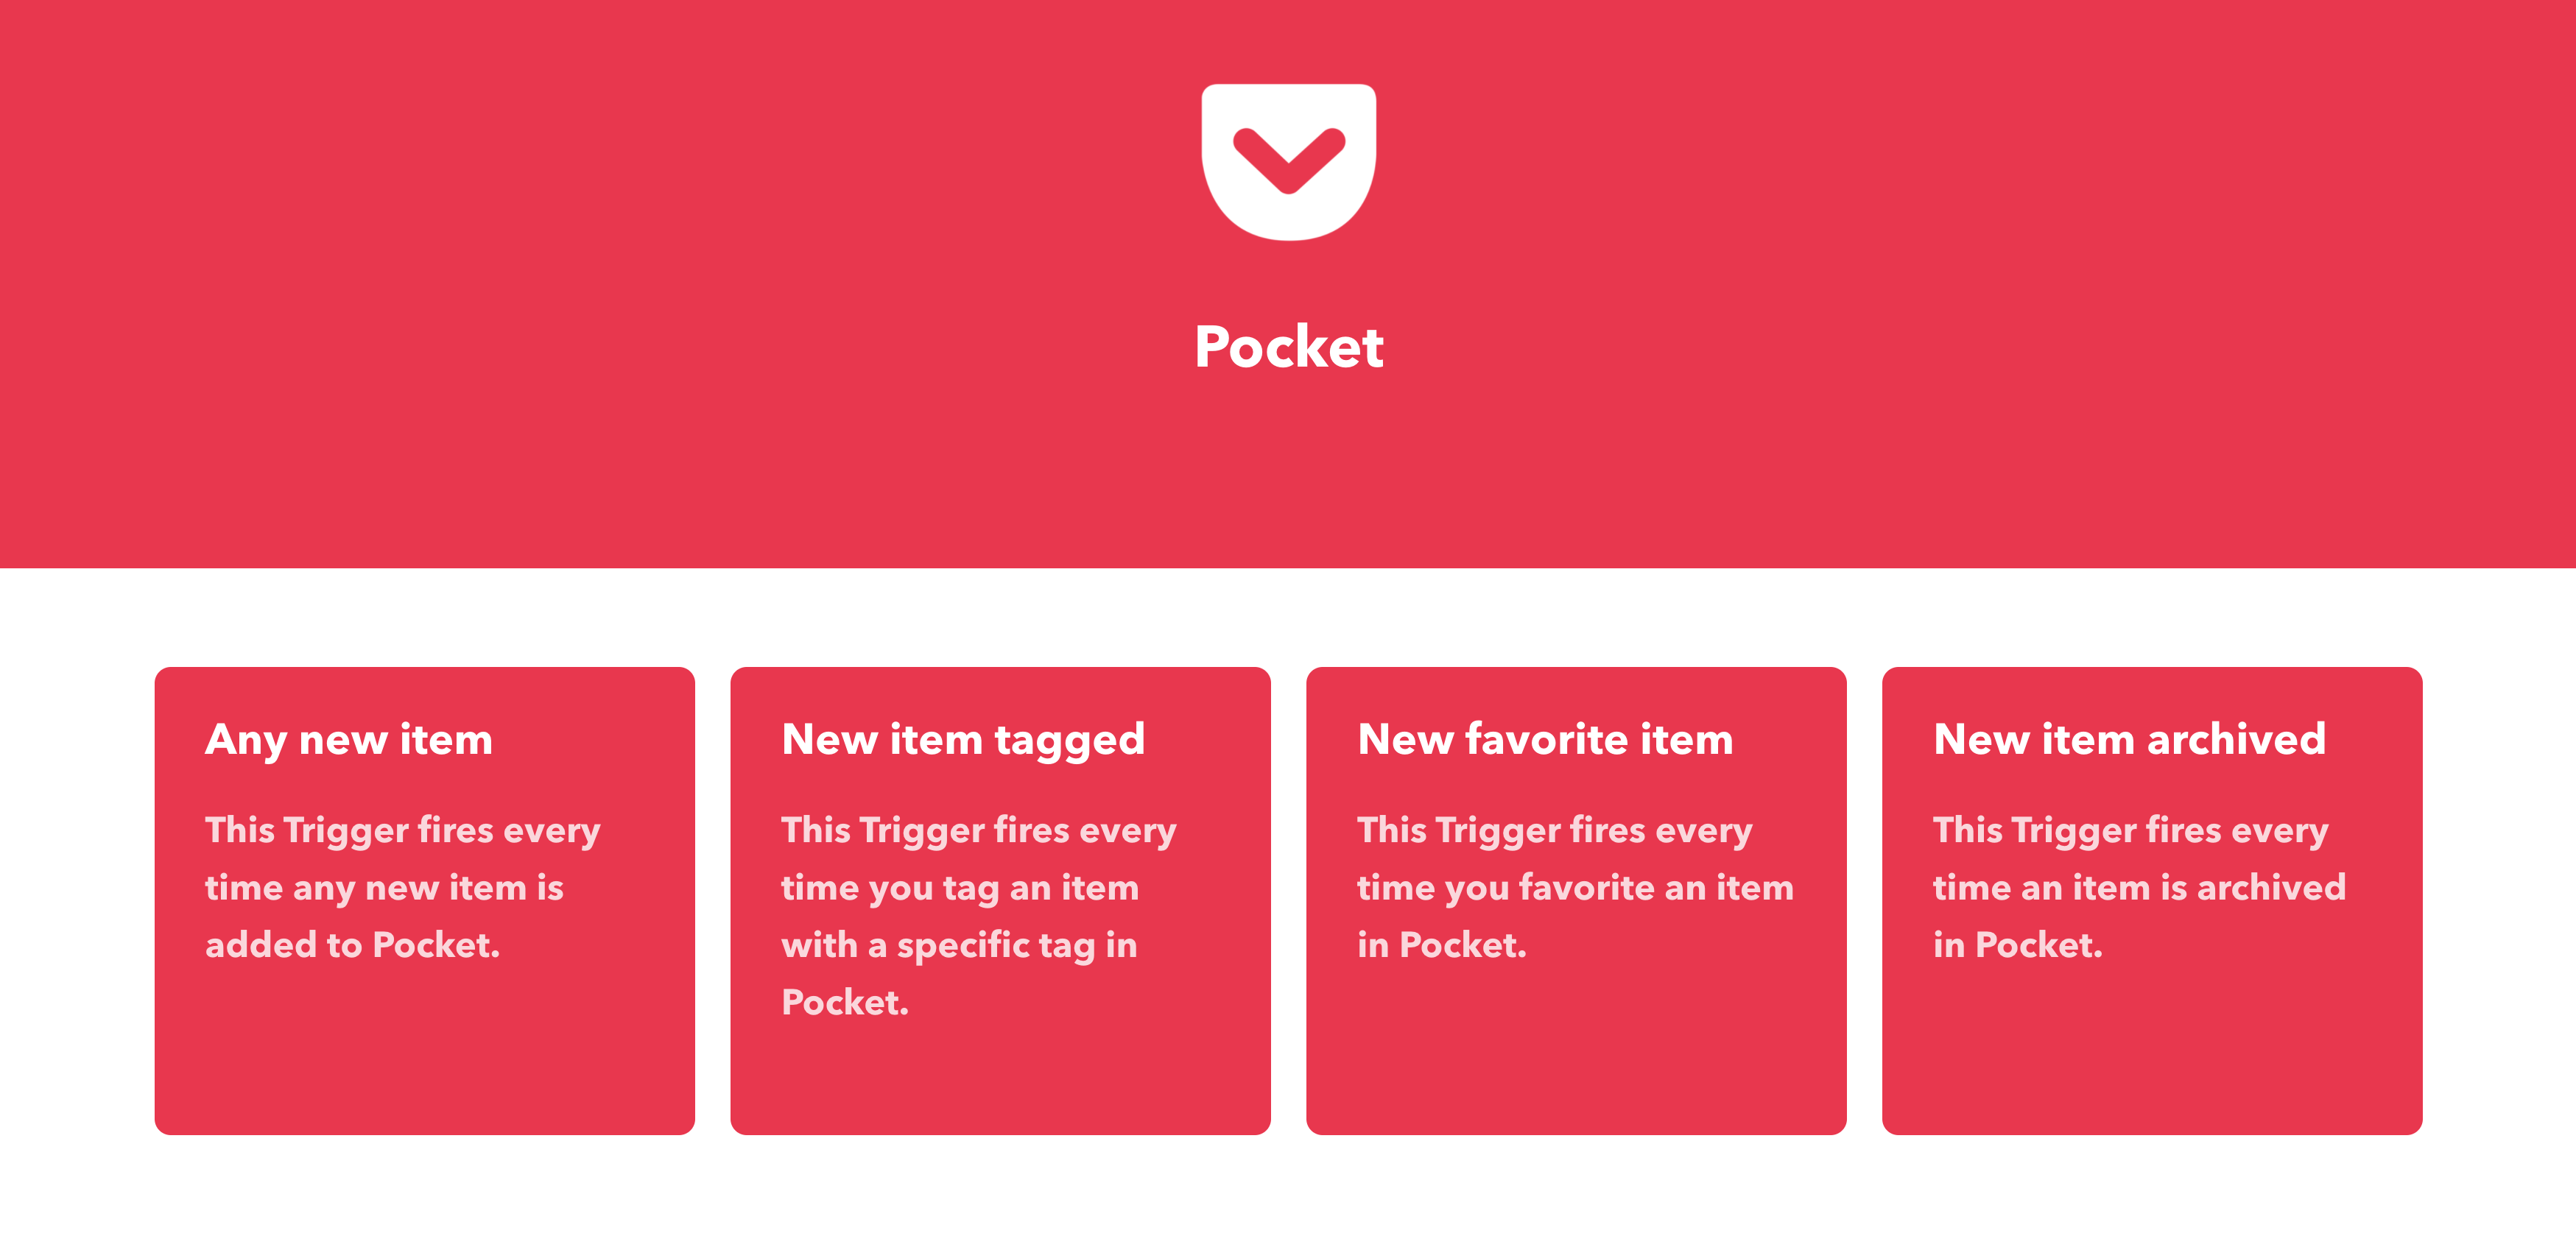
Typlog and other blogging platforms, like Ghost.org (paid version), promise a user-friendly experience, but they’ve rarely used “customization” as a selling point. Typlog supports code injections, custom header/footer, custom HTML contents, etc, which are already better than many blogging platforms (some of the features need the Pro plan). However, customizing a component on the website is still very hard. For example, preview links like Notion.
☝
Typlog has added the link preview support for some websites, like Douban and IMDB, still not as good as Notion.
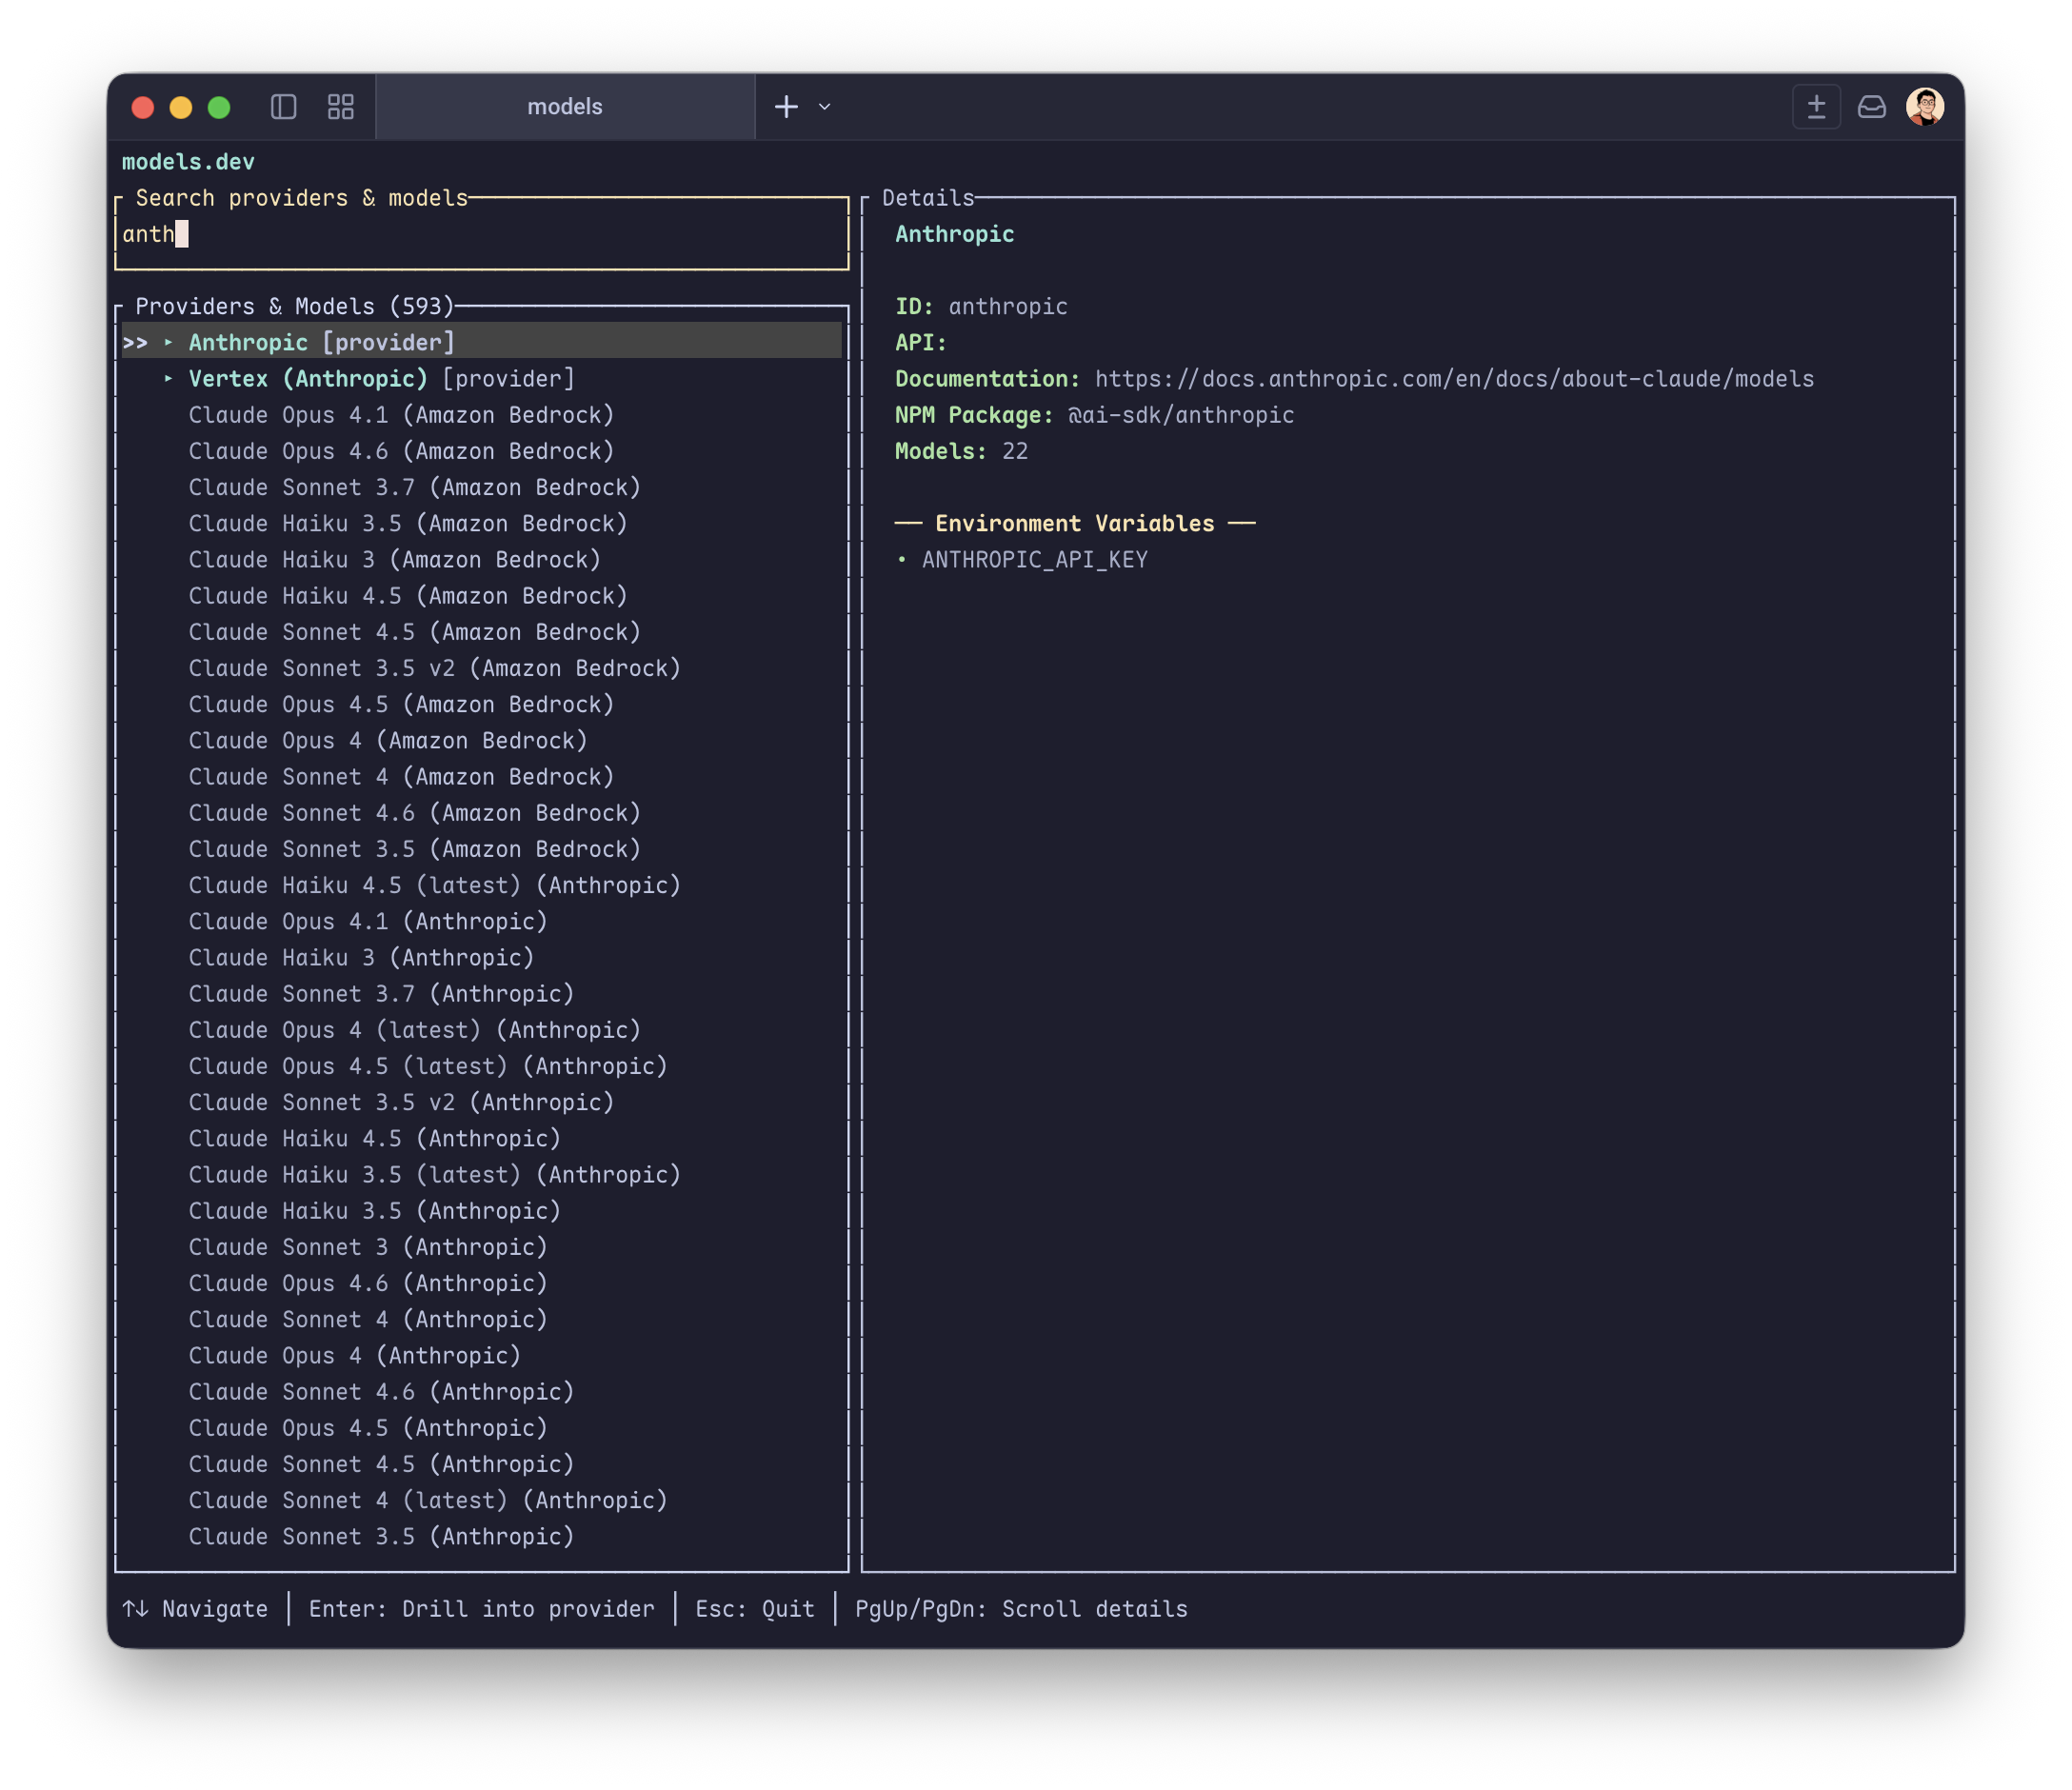
Another reason that made me really think about migrating to somewhere else was that engineering a dynamic personal website isn’t really different from engineering a product. It’s a great opportunity to learn and experiment stuff. If you look at Brian Lovin’s personal website, it literally has everything you could think of.
It’s funny that before I moved to Typlog, I was using the self-host Ghost and now it’s become an option again. Developing a custom theme for a Ghost blog is tremendous work, not to mention adapting to the big yearly update. Many third-party packages like the S3 storage package haven’t been updated for years. It takes time to keep your instance and theme updated.
The paid service is good, however, it’s not cheap as I’m not a regular blogger, I also don’t need the subscription management feature.
Static Site Generation
Static Site Generation (SSG) is a quite enticing option as it can be very flexible in styling and other customization aspects. It’s now much easier to generate the website in an automated way, such as using GitHub Actions, as compared to the old way, doing everything locally.
This solution (Gatsby, Hugo, Hexo…) satisfies my current needs. However, if I want to add dynamic content in the future it’d be difficult for the following reasons:
The solutions don’t include a running service, which means I’d need another service to output the dynamic content.
Generating happens in build time, the time consumed only grows over time.
Notion + X
Notion is more than capable of being a CMS, and it’s free! The problem left is how to render the content to a browser, like a blog. There are quite a few cool services doing so.
If you’ve ever used the SSG before, you know everything hosted on your server is rendered at build-time, meaning if you want to add or change content, you need to build again. ISR, however, doesn’t require the subsequent building. A page would be built when someone accesses the URL. Pages that have already been built can also be updated upon new requests once become expired. How cool is that?
Since it essentially is a Next.js service, it’s up to you to decide which parts are dynamic and which aren’t.
In order to render blocks from Notion, you’ve got two options.
Digest the raw data and render them
Notion has its official API now. You can query your database, search content and many stuff through the API.
notion-client - A wrapper of the Notion private API used by their clients.
react-notion-x- A collection of React components that transform the raw data into actual pages with Notion-like styling.
Yes, it uses private APIs. The author published another package notion-compat to make it possible to use the official API, but it has a few drawbacks (see the link).
You’d be amazed by how much react-notion-x can do out of the box. Kudos to Travis Fischer.
Blog, recharged
What you are seeing right now is the recharged blog that results from my days of work. I have to say “thank you” to Spencer because I copied a lot of things from this blog so that I could have this MVP this fast. I strongly recommend you to read these posts about his website if you are interested in the idea (promise me you will come back).
Apart from copying things from Spencer’s website, I tried to solve the problems Spencer mentioned in his post.
Image
Notion stores images (and other assets) on the S3 service. The image URLs you get from Notion’s API, either the private or the public, are signed. They are short-lived instead of permanent. There’s a chance that the page generated by Next.js is still valid but the URLs are expired, and the viewer gets a bunch of 400 errors.
Introducing the Resource Proxy (I know, I’m bad at naming). What it does is shown below.
The key used for indexing each asset is calculated based on the identifier. When the same identifier is requested, no matter what the signature is, the Resource Proxy always point to the same file in the private S3 bucket.
Unlike the Notion S3 bucket, which takes permission very seriously, we don’t need to react if the author changes the permission. Once the asset is saved, it’s there forever.
The Resource Proxy takes care of the dimension as well. It saves the image in a temporary place, probes the dimension using https://github.com/nodeca/probe-image-size, then saves the metadata to the database. The metadata makes it possible to use next/image.
What’s left
RSS feed
If you have subscribed to my blog, the feed still works, just without the main content. Generating the body content in an RSS feed is not easy as Next.js only allows outputting HTML content unless you fiddle with _server.ts.
自从 Ponte 上线以来,我就一直用它来实现外网访问内网的隧道。这个方案稳定,适应不同类型的宽带网络,无论是 NAT 网络还是公网 IP 都能无感回家。最近无意发现一直以来使用的配置有一个微小的缺陷所以用这篇文章来记录优化的过程。
起因
我家的网段是 192.168.114.0/24 ,Surge 的配置中有这样一段:
这样即便身处内网连接也会通过设备 PYCELLE 转发。我家的大部分网络服务都位于这台设备上,但同时也有 NAS 和路由器。一般情况下这么写都没问题,但如果遇到 Mac mini 升级我的 Surge 就完全无法访问内网,电脑使用 NAS 备份也会先经过一次 PYCELLE 再去到 NAS,略显低效。
I’ve been using Typlog as my blogging platform for the past few years. It’s been an excellent product for many reasons — extremely low friction editing experience, easy-to-use dashboard, reliability. I have to admit that I don’t write very often, but when I do, it doesn’t give me a hard time. However, an idea has been keeping bugging me for the past few months.
Typlog and other blogging platforms, like Ghost.org (paid version), promise a user-friendly experience, but they’ve rarely used “customization” as a selling point. Typlog supports code injections, custom header/footer, custom HTML contents, etc, which are already better than many blogging platforms (some of the features need the Pro plan). However, customizing a component on the website is still very hard. For example, preview links like Notion.
☝
Typlog has added the link preview support for some websites, like Douban and IMDB, still not as good as Notion.
Another reason that made me really think about migrating to somewhere else was that engineering a dynamic personal website isn’t really different from engineering a product. It’s a great opportunity to learn and experiment stuff. If you look at Brian Lovin’s personal website, it literally has everything you could think of.
It’s funny that before I moved to Typlog, I was using the self-host Ghost and now it’s become an option again. Developing a custom theme for a Ghost blog is tremendous work, not to mention adapting to the big yearly update. Many third-party packages like the S3 storage package haven’t been updated for years. It takes time to keep your instance and theme updated.
The paid service is good, however, it’s not cheap as I’m not a regular blogger, I also don’t need the subscription management feature.
Static Site Generation
Static Site Generation (SSG) is a quite enticing option as it can be very flexible in styling and other customization aspects. It’s now much easier to generate the website in an automated way, such as using GitHub Actions, as compared to the old way, doing everything locally.
This solution (Gatsby, Hugo, Hexo…) satisfies my current needs. However, if I want to add dynamic content in the future it’d be difficult for the following reasons:
The solutions don’t include a running service, which means I’d need another service to output the dynamic content.
Generating happens in build time, the time consumed only grows over time.
Notion + X
Notion is more than capable of being a CMS, and it’s free! The problem left is how to render the content to a browser, like a blog. There are quite a few cool services doing so.
If you’ve ever used the SSG before, you know everything hosted on your server is rendered at build-time, meaning if you want to add or change content, you need to build again. ISR, however, doesn’t require the subsequent building. A page would be built when someone accesses the URL. Pages that have already been built can also be updated upon new requests once become expired. How cool is that?
Since it essentially is a Next.js service, it’s up to you to decide which parts are dynamic and which aren’t.
In order to render blocks from Notion, you’ve got two options.
Digest the raw data and render them
Notion has its official API now. You can query your database, search content and many stuff through the API.
notion-client - A wrapper of the Notion private API used by their clients.
react-notion-x- A collection of React components that transform the raw data into actual pages with Notion-like styling.
Yes, it uses private APIs. The author published another package notion-compat to make it possible to use the official API, but it has a few drawbacks (see the link).
You’d be amazed by how much react-notion-x can do out of the box. Kudos to Travis Fischer.
Blog, recharged
What you are seeing right now is the recharged blog that results from my days of work. I have to say “thank you” to Spencer because I copied a lot of things from this blog so that I could have this MVP this fast. I strongly recommend you to read these posts about his website if you are interested in the idea (promise me you will come back).
Apart from copying things from Spencer’s website, I tried to solve the problems Spencer mentioned in his post.
Image
Notion stores images (and other assets) on the S3 service. The image URLs you get from Notion’s API, either the private or the public, are signed. They are short-lived instead of permanent. There’s a chance that the page generated by Next.js is still valid but the URLs are expired, and the viewer gets a bunch of 400 errors.
Introducing the Resource Proxy (I know, I’m bad at naming). What it does is shown below.
The key used for indexing each asset is calculated based on the identifier. When the same identifier is requested, no matter what the signature is, the Resource Proxy always point to the same file in the private S3 bucket.
Unlike the Notion S3 bucket, which takes permission very seriously, we don’t need to react if the author changes the permission. Once the asset is saved, it’s there forever.
The Resource Proxy takes care of the dimension as well. It saves the image in a temporary place, probes the dimension using
, then saves the metadata to the database. The metadata makes it possible to use next/image.
What’s left
RSS feed
If you have subscribed to my blog, the feed still works, just without the main content. Generating the body content in an RSS feed is not easy as Next.js only allows outputting HTML content unless you fiddle with _server.ts.
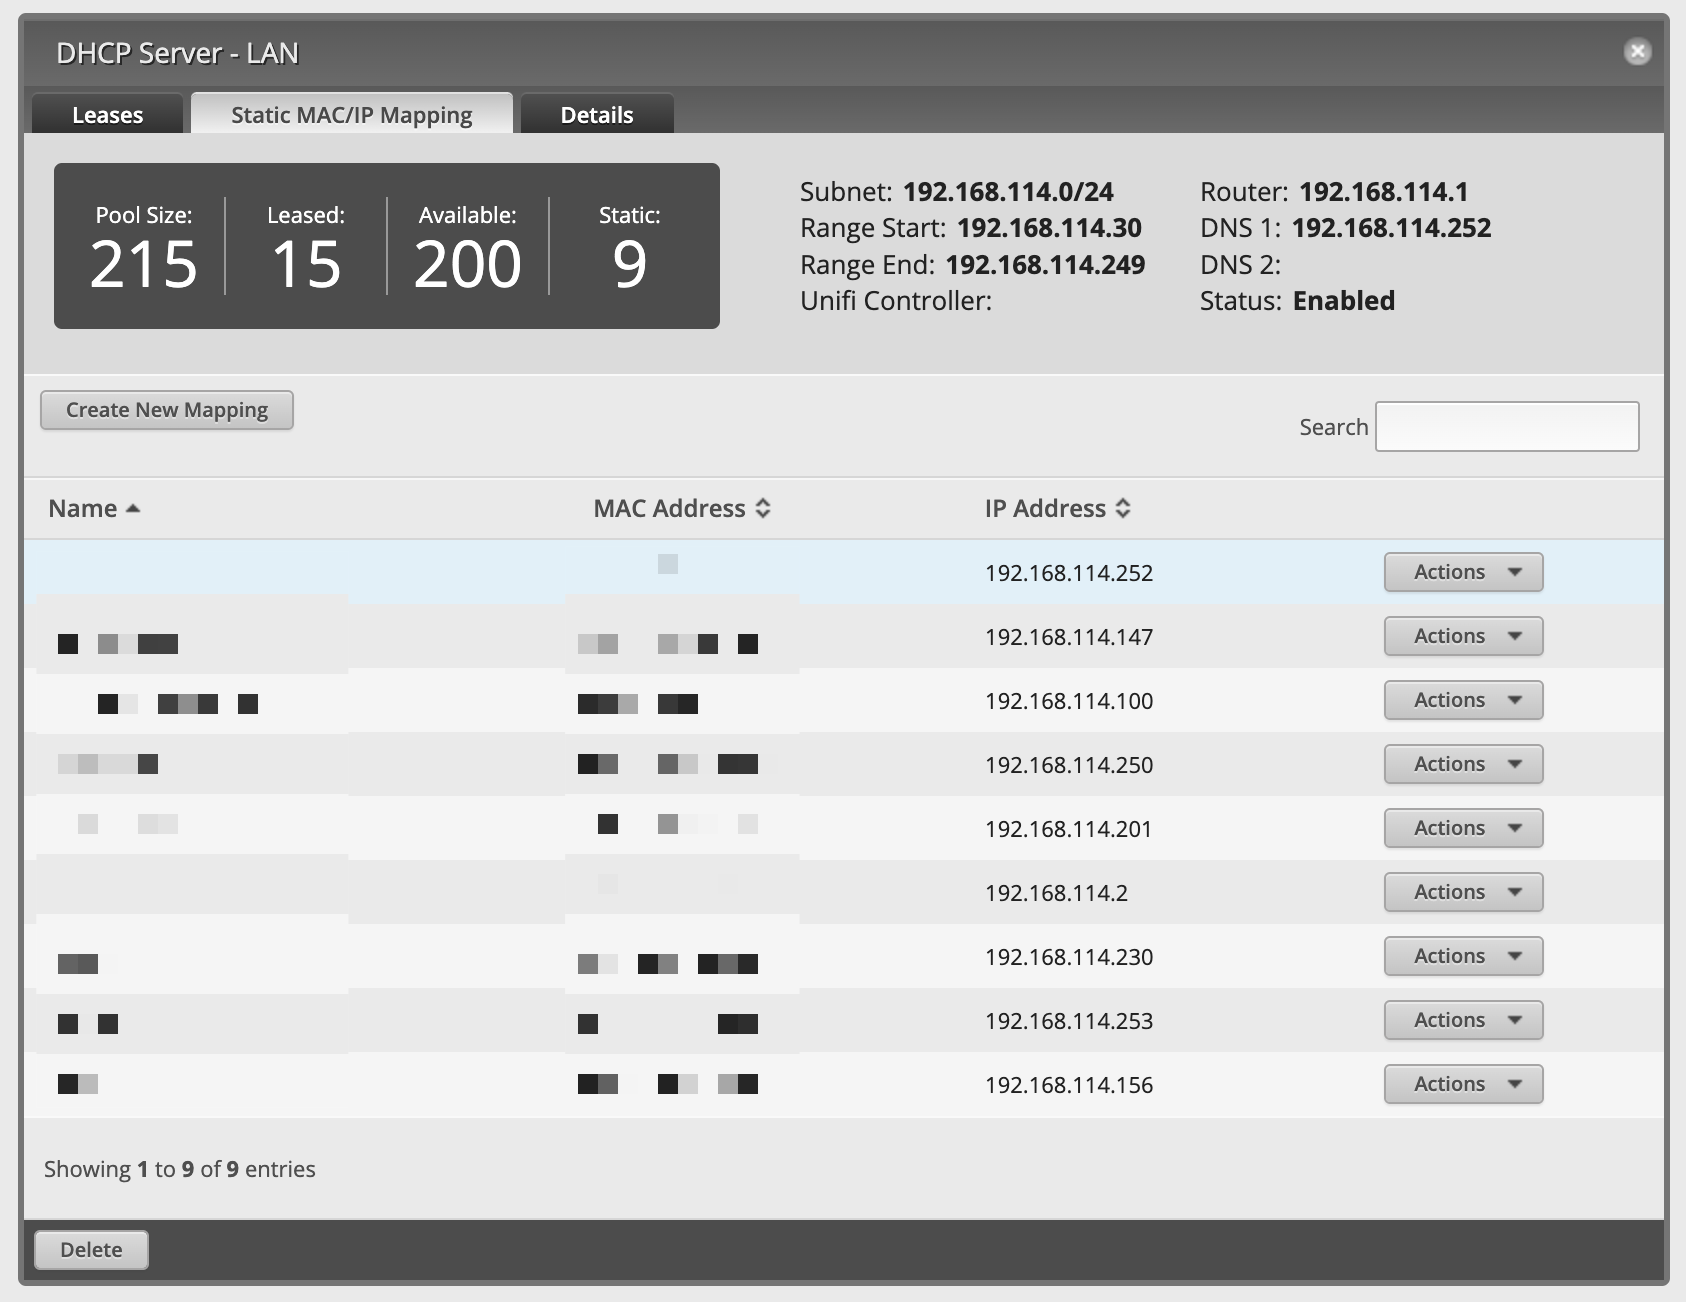
对于开启了 Surge 高级模式的局域网来说,分别配置网关和 DNS 无疑是痛苦的。我们既希望 Apple TV 这样的设备能利用 Surge,又希望普通的上网设备,如智能家居,能直接连接路由器。你可以使用 Surge 的路由器功能,但这不是适用所有人的解决方案。这篇文章会介绍如何使用 EdgeRouter 来给局域网内的特定设备分配独立的 DHCP 配置,节约你的宝贵时间。
croc is a tool that allows any two computers to simply and securely transfer files and folders. AFAIK, croc is the only CLI file-transfer tool that does all of the following:
allows any two computers to transfer data (using a relay)