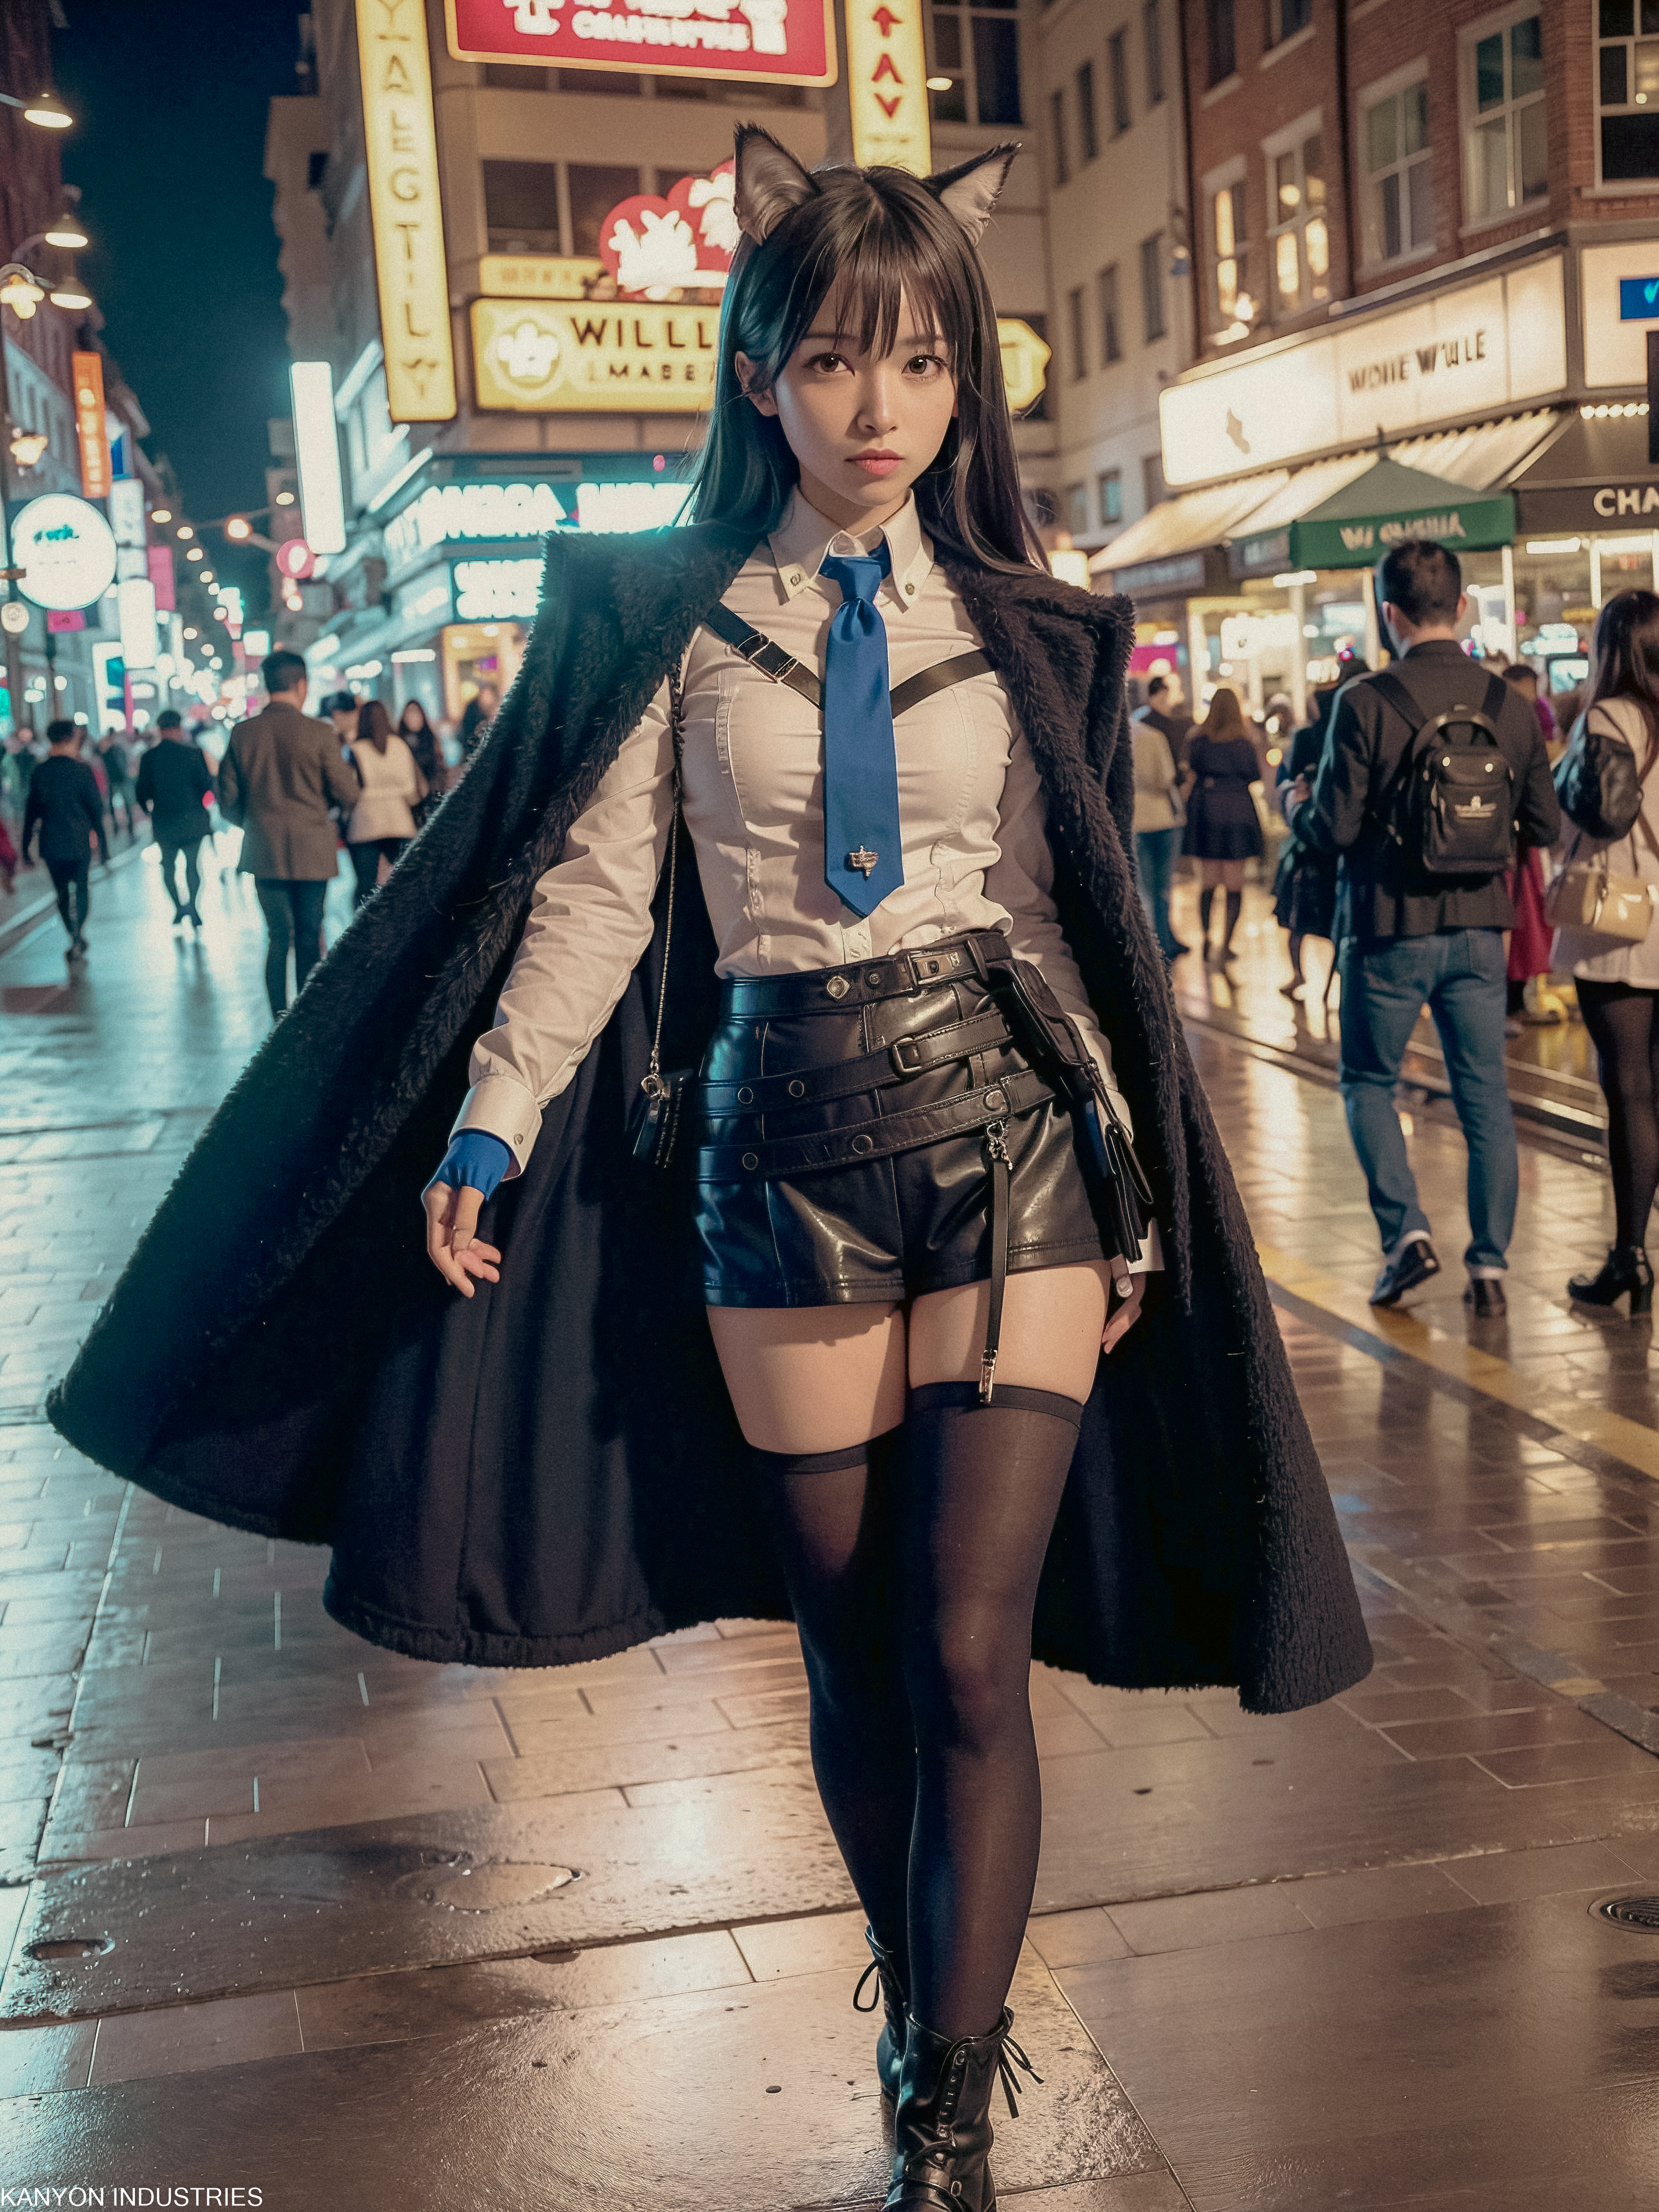
I have been working for the current company for half a year. I have a clear picture of the working pattern: We are a small design team, but each member has to be responsible for both the UI and UX design for many internal systems.
Some of the design requirements are not complex at all, but the stakeholders want to make the interface aesthetically beautiful and different from other internal systems. In contrast, other demand sides hope designers can provide a clear and understandable solution to tackle the complex interaction flow.
The previous one was much more difficult for me since I was interviewed for the senior UX designer position, and I had not expected to address these design requirements, which may have occurred considerable times.
So it is time-consuming to design a portal website or refine a running internal system since I have to try multiple design solutions to ensure it will be aesthetically beautiful and outstanding.
Ideation
I wonder if 3D pictures could be a great approach to suit this type of design requirements. So I researched external products from large firms, trying to know how they use 3D pictures in their SaaS products.
After collecting and investing in multiple products, I found the patterns:
3D pictures are most likely used in landing pages, login pages, portal pages, and the like;
Admin panels and dashboards do not use 3D pictures frequently, but they would appear in entries, feedback, and background decoration.
Conclusion
Based on the pattern above, real working conditions, and small-sized tries, I summarized the first conclusion:
3D pictures are not frequently used on dashboard pages and system admin. However, using 3D pictures could improve the variety of pages. So it is not worth it to spend so much time on it.
3D pictures can effectively meet the expectations of demand sides when they want to make their dashboard and admin pages distinguish from other similar sites.
Difficulties
Since I don’t have skills in 3D design, and my working strength is too high to spend much time learning, modeling, and rendering delicate 3D pictures, I just simply searched 3D visual elements on the Internet and then applied them to my deliverable.
Initially, this approach was workable and can help me complete my work quickly. However, drawbacks are uncovered after multiple uses:
Difficulties of matching business contexts. 3D pictures on the Internet support common scenarios well but can’t always precisely describe certain business scenarios.
Lack of series of an element. Although we finally found a perfect 3D picture, it is hard to reach other similar elements from the same series, resulting in poor scalability.
Risks of infringement. Using 3D pictures on the Internet might cause infringement, so applying it directly consists of potential risks.
Inconsistent quality. Free elements are not guaranteed quality and sometimes fail to meet the standards of our design team.
Here, I draw the second conclusion:
Searching for 3D pictures on the Internet has limited effectiveness, so we can’t fully rely on this approach.
After drawing this conclusion, I feel horrible: does it mean that I should strive to learn skills in 3D design? My work strength doesn’t allow me to learn professional 3D software like Cinema 4D or Blender.
After thorough consideration, I think the core demand for me is not to learn 3D software, rather, I should have the ability to gain 3D pictures. Apart from that, the whole process should consist of these features that suit my workflow well:
Quick render. Since it is not worth it to spend much time on it during my work time.
Consistent style. Ensuring our design has great scalability.
Great customizability. It means that I can fully control elements on 3D pictures, ensuring outputs highly represent the business requirements and contexts.
By chance, I know there is a plugin in Figma called “Vector to 3D”. By learning outputs published in the community, it seems that this plugin could meet the features above well, improving my work effectiveness and quality. So I asked my team leader if I could spend some time discovering this plugin and sharing my experiences with team members, and she approved.
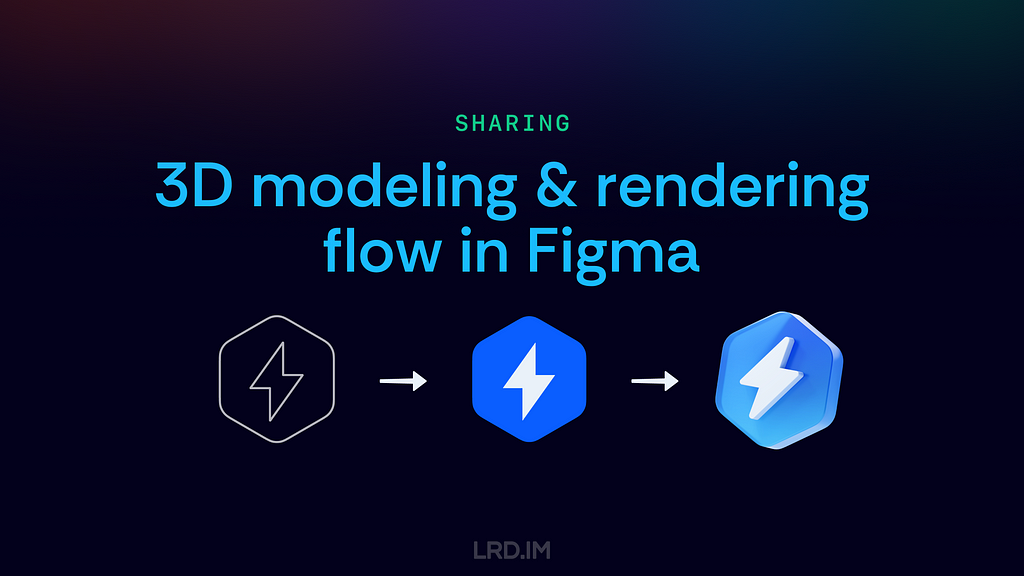
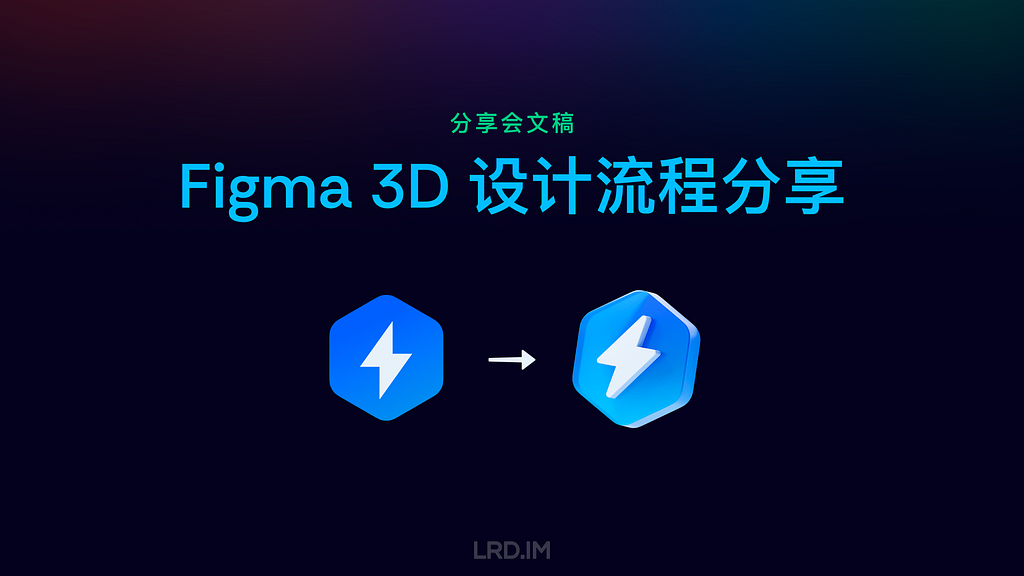
Therefore, this post is to record my internal sharing: My experience of how to build 3D modeling & rendering flow in Figma that improves our design effectiveness and quality.
Work with Vector to 3D
Introducing the plugin
This is a paid plugin, we can search for and install it in the Figma community.
The control panel is comprised of three parts: Global, Object, and Animation settings. Here I will simply introduce the interface of the first two parts, ensuring all readers learn what this plugin can make.
For the Global setting, we can adjust the cameras, and background on the “General” panel; apart from that, we can set the render quality and details on the following panel called “Render”; and then we can control lights on the next panel named “Light and Shadow”, this panel supports varies functions of lights, like the number, size, position, strength, color and so forth.
For the Object setting, we can make a 3D model by extruding, inflating, or revolving, and then increase the detail of the model by setting “Mesh Quality”. Moreover, this plugin also supports material settings, like roughness, metallic, transmission, and the like.
These features are more than sufficient to handle nearly all of my design tasks.
Make a template
In this part, I will introduce two functions of this plugin: Save Preset and Template Preset.
Saving preset allows us to memorize the current view, modeling, and material settings of the frame. We can reload all the settings by the next open, even sharing with friends.
Templating Preset is not only the masterpiece of connecting the plugin with Figma but also a key factor in effectively generating 3D pictures.
Once we built a template, the plugin would memorize all the raw object preset, next step, we can replace the raw object with anything else, and succeed the raw object preset to it.
This approach is highly convenient for us when producing 3D elements. We just have to create a template, and then we replace various shapes, finally, we can produce endless 3D elements that fit our actual needs well.
How it works: First, we need to set the frame as a component and make the replaceable element that we want to replace with a new one a child component. (In the following example, I set the square bottom as a replaceable element.)
Second, we duplicate the whole component and tune settings in the plugin, then save it. (In the following example, I make a glass ball and a square bottom base with a metallic surface)
Third, we need to create a bunch of shapes that are to replace the replaceable element, making them an individual component and ensuring their layer number, order, and name are the same as the replaceable element.
Last, we can hold the keys “cmd” + “option”, drag a new shape component to replace the replaceable element, and then reload the model again. Now we can see the new shape is applied to the same presets.
Now we successfully made a template, we can produce endless 3D elements by creating and inserting new shapes.
Actual practice
Here, I will share a case that is already used multiple times in my daily workflow.
In this template, the shape of icons and background are replaceable, generating endless pictures and fitting nearly all of my design tasks. So it can be a resource library, empowering other team members.
Meanwhile, I created a color pattern, which not only can be used to represent states like success, fail, warning, and the like but also can be applied to the system with different color themes, ensuring our outputs are highly scalability.
Benefits
In the post above, we learned the interface of Vector to 3D, how to make a template, and how I use this flow in actual workflow.
We are familiar with the 3D design workflow in Figma. To conclude this post, I’d like to summarize the key advantages of this process.
1. Low learning costs
We can simply recognize that the plugin “Vector to 3D” is a lite version of 3D software, simplifying complex functions from traditional 3D software and keeping essential functions.
2. Full design process within Figma
This workflow allows us to produce great 3D elements that don’t have to leave Figma. Apart from that, we can simply tune colors in Figma, which doesn’t like the traditional workflow that always switches from software to software.
3. High scalability
One of the core features of Vector to 3D is that makes up models from vector shapes, by taking advantage of this, we can efficiently produce 3D pictures that effectively meet our needs and align well with business contexts.
4. Consistent styles
The plugin Vector to 3D can coordinate with the components of Figma, not only remembering global presets like lights and cameras; but also allowing replacements to succeed presets like materials and position from previous elements. By templating these presets, we can endlessly produce 3D pictures with the same style.
This workflow is not only successfully used in my daily work but also influences my colleagues. After this sharing, 50% of my team members purchased and used this plugin in their design tasks.
Solution for non-Figma users
If you or your team are not using Figma for work currently, or you are not a designer but just simply want to try the flow from SVG shapes to 3D models, you can visit the online version of Vector to 3D: https://www.meimu.design/vector-to-3d/
这是一期 荒野楼阁 WildloG 和 皮蛋漫游记 的串台节目,由我和零号、初号一起,聊聊今年 Apple 发布的新产品以及一些周边的信息,作为 设以观复x两颗皮蛋 合作的那期视频内容的一些补充。
今年 iPhone 16 系列着实挺闹心的,一方面是 Apple Intelligence 的大饼迟迟未能落地,另一方面 Camera Control 独立按键加得有点莫名其妙。但我们还是决定在深入体验和使用 iPhone 16系列之后,能够匹配我们的深度测评内容一起,跟大家聊聊今年库克又挤出来了多少牙膏?
没错,今年 AI 的爆发指向了一个新的趋势:对话式交互界面。但人类之所以发明绘画,开始通过设计图来制作各式各样的新工具,恰恰就是因为语言本身的效率太低。这个逻辑其实也可以从媒体形态上找到端倪:文字–> 图像–> 视频。仅仅依靠对话,我们无法构建出一个一把剪刀;仅仅通过语言表达的播客,也无法传达任何需要视觉才可以精准理解的信息。对话指令的交互界面与图形交互界面之间的关系,并非只是 dos 和 windows 之间的差异,更重要的点在于,后者可以更直观地完成交互,以及精准地进行创作行为。AIGC 的重点不仅仅只是 AI,而是我们如何使用 AI 进行「Generative Content」。
2、增强现实和人的链接,是融合,不是制造一个虚拟世界代替。iPhone X 发布的时候,我曾写文章说,需要有边框来界定虚拟和现实的边界,因为沉浸感越强越需要清晰的退出机制,人才会有安全感,才更愿意用。这是交互设计要死守的底线。果然,苹果选择用数码表冠来切换融合程度,而且,这是一个实体旋钮,是唯二的实体操控部件之一。可想而知,其优先级和对交互体验的重要程度。
最近关于 AIGC 的关注度太高了,自己也时不时会抽空去了解一些情况,或者尝试去用一些工具。很多关于 AI 要替代人的观点大行其道,也一直有不少 AI 要让设计师失业的看法在坊间流传。但我自己的感受和看法是:
在 Midjourney、Stable Diffusion、ChatGPT 这些 AI 工具出现后,「手头功夫」并没有因此丧失意义,它们只是不再具备作为门槛的价值,但依旧是重要的前提。因为「手头功夫」是培养我们发掘问题、判断优劣和快速取舍的重要训练,缺少这部分锻炼,会让人在这一系列 AI 工具面前感到无力。准确地识别问题并提出诉求,这是未来教育的重中之重,也会反过来强调人的价值。
正好,前段时间后浪送了我一本书,是前微软包容性设计的首席总监 Kat Holmes 写的《误配》。一边看这本书,我就一边在结合自己的工作和最近关于 AIGC 的思考,我觉得这本书里提倡的理念,正好回应了当下的舆论思潮。