Explainer: How does macOS recognise file types?
One of the most fundamental changes brought by the Mac was the ability to open and edit files without having to explicitly specify which app to use. Instead of typing in a command telling an app to open a file, we can simply double-click the file and the Mac already knows which app to use. This relies on every file having a type, and the association between file types and apps. This article explains how that is now accomplished in macOS.
History
Classic Mac OS relies on two four-character codes assigned to every file designating their creator and type. An app has a type of APPL, and a text file a type of TEXT. A text file created by the TeachText app might have a creator code of TTXT and a type code of TEXT. Double-click on that file and the Finder looks for the app (with a type code of APPL) with the creator code of TTXT, and asks that to open the file. Associations between app creator codes and file types are also built into the Finder’s Desktop databases to relate icons with file types, forming the heart of the Desktop metaphor.
Although Mac OS X retained type and creator codes, early versions relied on filename extensions to determine the type of files, a feature of older operating systems and NeXTSTEP. Apple therefore invented a new system for identification and classification of file types and more using Uniform Type Identifiers, introduced in Mac OS X 10.4 Tiger. They have since been incorporated into a generalised UTType structure in macOS 11 Big Sur.
UTI
The standard system in macOS is based on a Uniform Type Identifier, or UTI, like public.plain-text for a plain text file, and public.jpeg for a JPEG image.
UTIs use a structured hierarchical taxonomy forming a vast interconnected tree. For example, when I write a file of Swift source code, the .swift file has the type public.swift-source, a specialised type of public.source-code, which is public.plain-text, which is public.text, and in turn both public.data and public.content. When I open that file, LaunchServices first looks for an editor for public.swift-source files, but can ascend the UTI tree as necessary and use an app designed to open text files of public.text more generally. Some of the more frequently encountered UTIs are shown in the diagram below, which you’ll probably need to expand to full screen to read clearly.

Determining the UTI
It’s often claimed that macOS depends on filename extensions to determine different types of file, but that’s not correct: it’s more capable, and uses MIME types when downloading from the Internet, and ultimately relies on UTIs.
This is easily demonstrated in Terminal. Type the following commandtouch notypefile
to create a new file in the current directory without any extension or other clue as to what it is. Then look in the Finder’s Get Info dialog, and you should see that macOS has already assigned it a default type associating it with a default editor. Inspect that file using my free utility Precize, and you’ll see that it has a UTI (listed in the Type entry) of public.data.
Now give it an extension unknown to macOS, such as .xyz, and inspect it again with Precize: its type has changed to something more cryptic like dyn.ah62d4rv4ge81u8p4. That’s a dynamic UTI, created on the fly by macOS to distinguish it as having a unique type, described in Get Info simply as a Document, but still with its default associated editor.
Every item in your Mac’s file system has a UTI to tell LaunchServices what to do when you try to open it, for instance by double-clicking its icon. You may find an exception to this, from a longstanding bug dating back to OS X 10.5 in 2007: some files may not return a UTI, but a NULL instead. This seems to be confined to sockets, which might appear to be files but aren’t really.
Discovering the UTI
Unfortunately, although discovering UTIs is key to dealing with documents which are treated as having the wrong type, there’s no easy way to find a file’s UTI in macOS. Thankfully you don’t need long reference lists to find out key information such as what a filename extension or MIME type represents in terms of a UTI: it’s all contained within macOS, if you know how to look using one of the tools listed below.

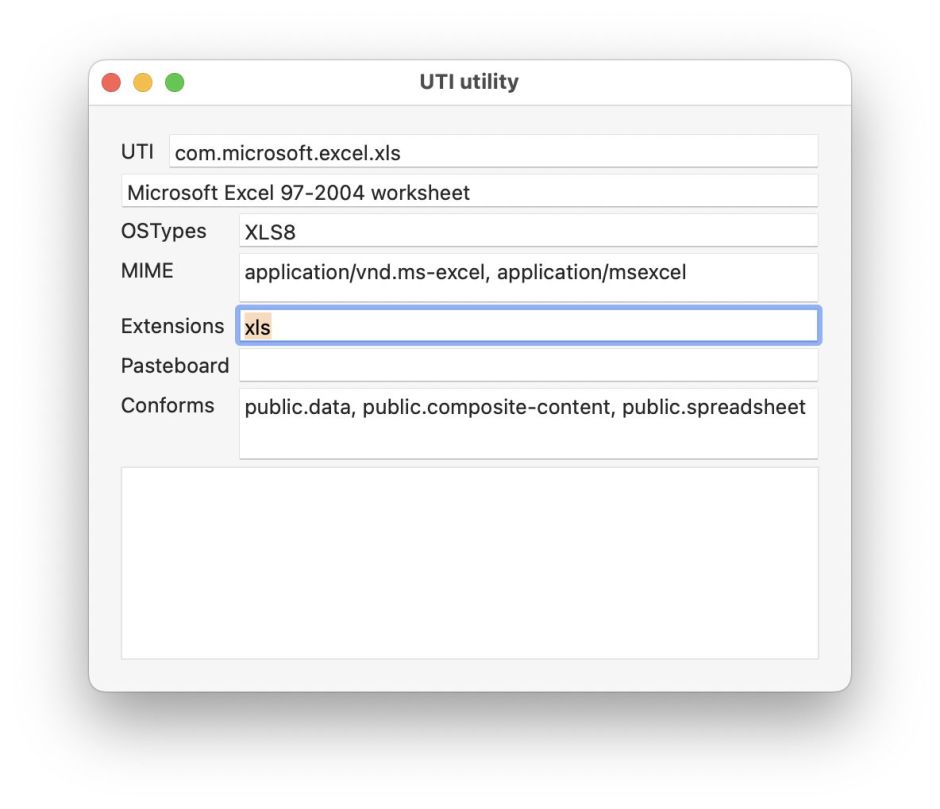
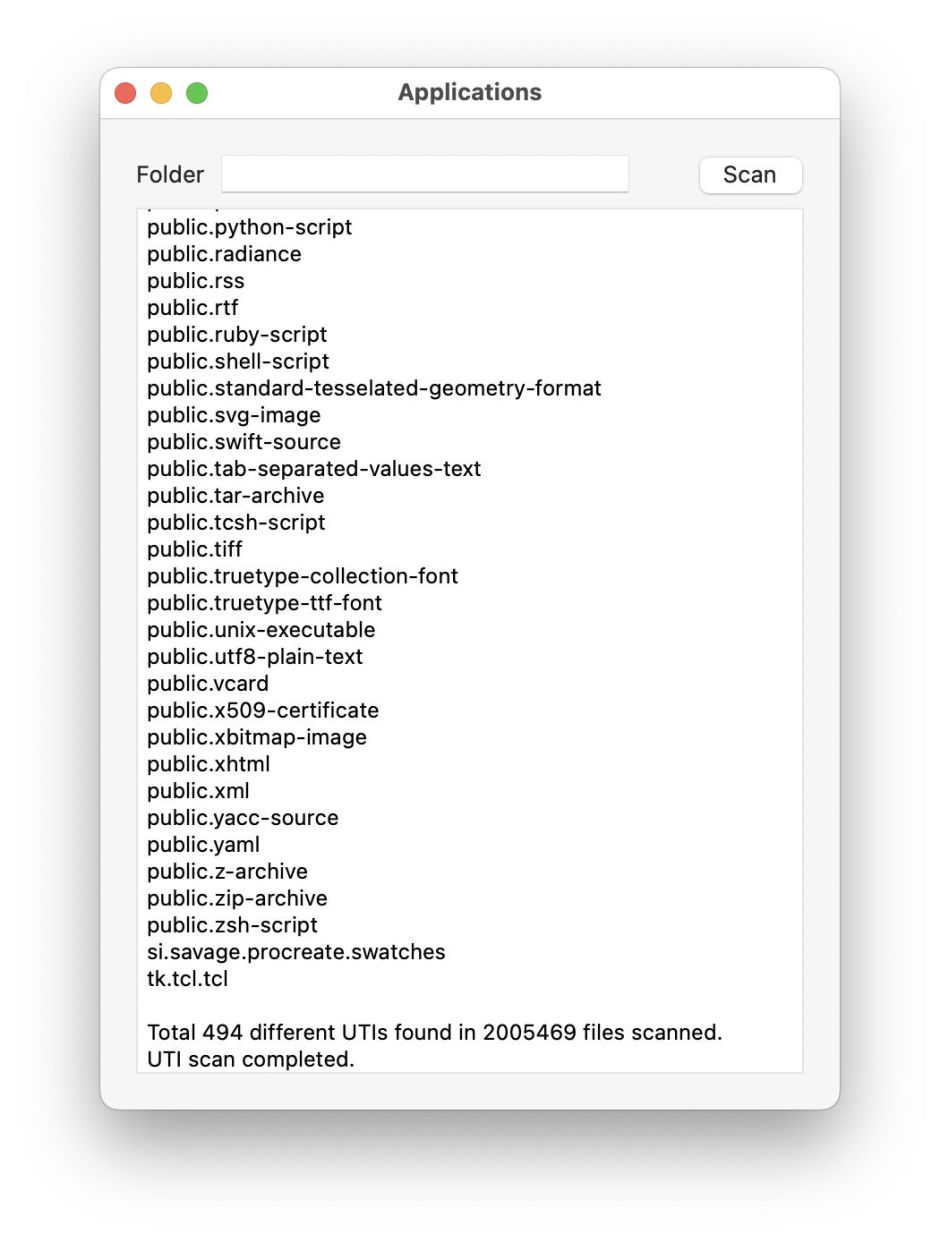
My own utility for working with UTIs is UTIutility. Its main window lets you enter an extension like xls, and tells you all macOS knows about that and its corresponding UTI. Alternatively, you can open its Crawler window and get it to list all the UTIs it comes across in the selected folder. That can take a long time to work through large folders, or those loaded with UTIs like /Applications, but its results are revealing.

The correct answer to the question of what determines a file’s type is therefore a whole list:
- UTI, e.g. com.adobe.pdf,
- filename extension, e.g pdf,
- OSType, e.g. PDF,
- MIME type, e.g. application/pdf, or
- Pasteboard type, e.g. Apple PDF pasteboard type.
While you can change a file’s type directly by giving it a different UTI, it’s far simpler to do that indirectly by changing its extension to one correct for the type, such as txt or text for a text file. MIME types are mainly used for Internet file transfers, and Pasteboards are used when copying chunks of data using the Clipboard, which relies on the same basic system.
Other uses
In addition to LaunchServices making the association between the type of file you want to open and the app to use for that, UTIs are used extensively in macOS to determine how to handle different types of file. Among the more important are QuickLook, when deciding which generator to use to build a file’s thumbnail and preview, and Spotlight, when deciding which importer to use to index the contents of a file. Indeed, UTIs are so central to Spotlight that the command used in Terminal to inspect a file UTI is mdls, part of Spotlight.
Tools
Thomas Tempelmann’s free Launch Services features an excellent UTI browser.
Precize and UTIutility are free from their Product Page.
Apple documentation
UTI overview (archived)
Framework doc (current)
System-declared UTIs (current)
UTType (current).