Reading view

There are new articles available, click to refresh the page.

How Time Machine backups can fail silently

If anyone claims they have engineered something so you can set it and forget it, remind them of the third step in that process, where you come to regret it. Without attentive monitoring, any system is likely to fail without your being aware. Time Machine is a good example, and this article illustrates how it can fail almost totally without you being aware that anything has changed.

Scenario

I’ve recently been testing a security product on my Mac mini M4 Pro. One of its more novel features is device control similar to Apple’s Accessory Security for Apple silicon Mac laptops. I’m sure I’m not the only person who has wondered why that feature hasn’t been incorporated into desktop models, and here is a third-party developer doing just that and more. For their implementation lets you specify precisely which peripherals can be connected, down to the serial number of each SSD.

When I installed and went through the onboarding of this product, I naturally assumed that my Time Machine backup storage, an external SSD, would be allowed by this control, as it was connected at the time. At that time I was offered no option to manually allow it, and as its three volumes remained listed in the Finder’s Locations I didn’t check its settings.

When I started that Mac up the following day, I discovered that I had lost access to that external SSD. Its three volumes were still there in the Finder, but any attempt to open them failed with an error. I quickly disabled the device control feature, just in time to allow Time Machine to make its first hourly backup since 12:35 the previous day, just after I had installed the security software. Time Machine had happily gone that long without backing up or warning me that it had no backup storage.

Compare that with what would have happened with any other backup utility, such as Carbon Copy Cloner, which would have informed me of the error in terms loud and clear. I think this results from Time Machine’s set and forget trait, and its widespread use by laptop Macs that are often disconnected from their backup storage. Thankfully I hadn’t come to regret it, this time.

Evidence

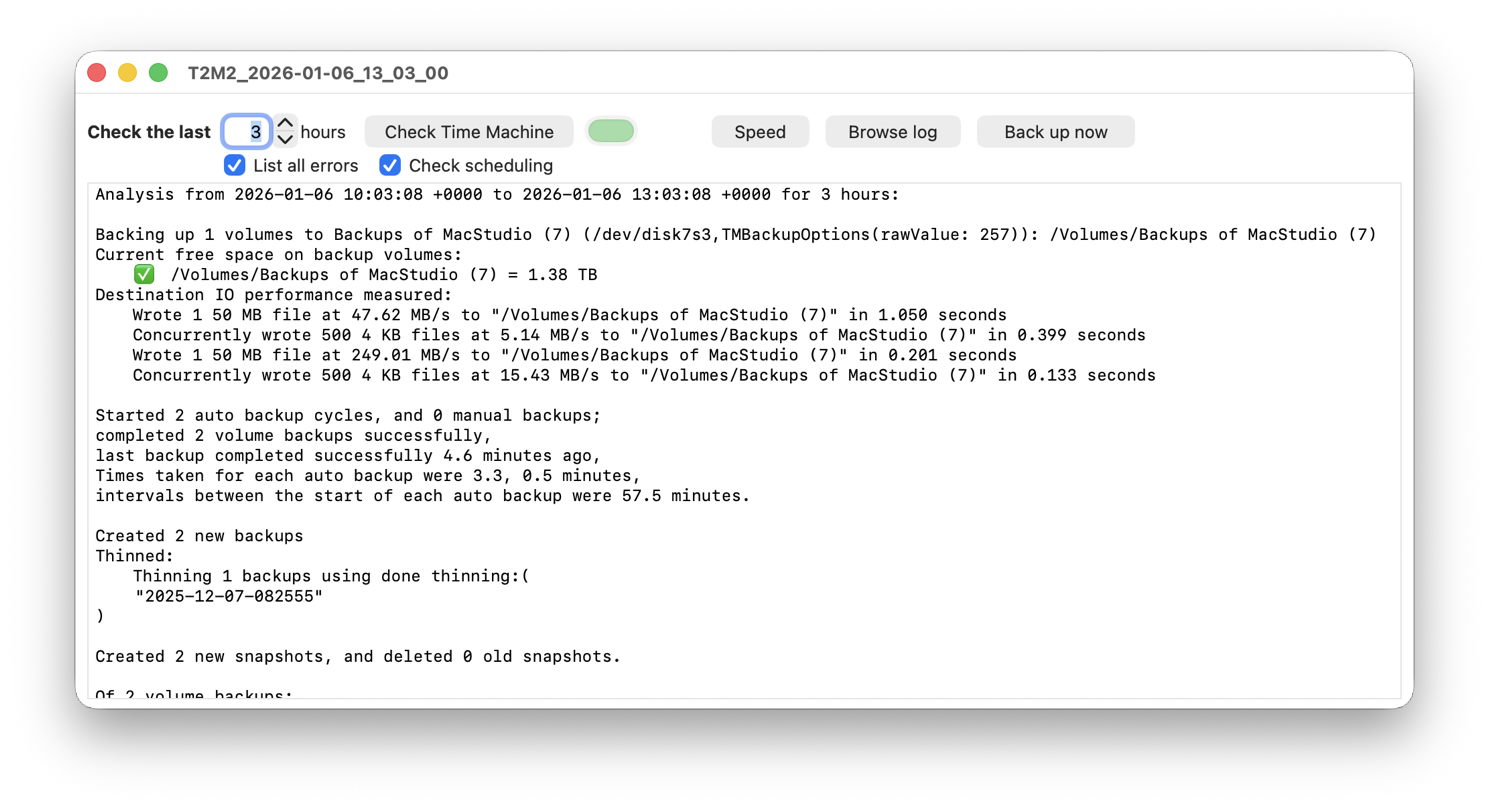
Not only does Time Machine not draw the attention of the user to this error, but it can be hard to discover from the log. Run T2M2, for example, and the evidence is subtle:
Times taken for each auto backup were 4.3, 0.5, 0.6, 10.5, 2.5, 0.8, 0.9, 0.7, 0.6 minutes,
intervals between the start of each auto backup were 86.6, 29.3, 1197.7, 55.5, 60.3, 60.1, 60.1, 60.3 minutes.

(Emphasis added.)

A gap of almost 20 hours between backups far exceeds the nine hours it was shut down overnight. But at the end, T2M2 reports
✅No error messages found.

I know from the security software’s log that it had blocked access to the backup storage after Time Machine had completed the last of its hourly backups at around 12:35. This is what the next attempt to back up reported:
13:23:54.382 Failed to find any mounted disk matching volume UUIDs: {("A3A3DADA-D88E-499B-8175-CC826E0E3DE4")}
13:23:54.382 Skipping scheduled Time Machine backup: No destinations are potentially available
13:23:54.487 attrVolumeWithMountPoint 'file:///Volumes/VMbackups/' failed, error: Error Domain=NSPOSIXErrorDomain Code=1 "Operation not permitted"
13:23:54.488 attrVolumeWithMountPoint 'file:///Volumes/OWCenvoyProSX2tb/' failed, error: Error Domain=NSPOSIXErrorDomain Code=1 "Operation not permitted"
13:23:54.489 attrVolumeWithMountPoint 'file:///Volumes/Backups%20of%20MacStudio%20(7)/' failed, error: Error Domain=NSPOSIXErrorDomain Code=1 "Operation not permitted"
13:23:59.103 attrVolumeWithMountPoint 'file:///Volumes/VMbackups/' failed, error: Error Domain=NSPOSIXErrorDomain Code=1 "Operation not permitted"
13:23:59.104 attrVolumeWithMountPoint 'file:///Volumes/OWCenvoyProSX2tb/' failed, error: Error Domain=NSPOSIXErrorDomain Code=1 "Operation not permitted"
13:23:59.104 attrVolumeWithMountPoint 'file:///Volumes/Backups%20of%20MacStudio%20(7)/' failed, error: Error Domain=NSPOSIXErrorDomain Code=1 "Operation not permitted"

Time Machine then fell back to what it has long been intended to do in such circumstances, making a local snapshot of the volume it should have backed up. This starts with a full sync of buffers to disk storage,
13:23:59.876 FULLFSYNC succeeded for '/System/Volumes/Data'
in preparation for that snapshot
13:24:00.024 Created Time Machine local snapshot with name 'com.apple.TimeMachine.2026-01-12-132359.local' on disk '/System/Volumes/Data'

These were repeated at 14:24:06.638, and hourly thereafter until the Mac was shut down. Accompanying those few entries were tens of thousands of errors from APFS and Time Machine.

The only clue as to the cause was a single log entry
14:24:06.805543 EndpointSecurity ES_AUTH_RESULT_DENY: event 1
in which Endpoint Security is logging the event that access to the external device was denied.

Lesson

If you do just set it and forget it, you will come to regret it. Attentive monitoring is essential, and when anything does go wrong, don’t pass over it in silence.

Check Time Machine backups in macOS Sequoia and Tahoe

It has been almost nine years since I released the first tentative version of The Time Machine Mechanic, T2M2. Over that time, Time Machine and T2M2 have transitioned from HFS+ to APFS, from backups based on directory hard links to snapshots, and Macs running Intel 2-core processors to those with M5 chips. This article explains how T2M2 analyses those backups in macOS Sequoia and Tahoe, and is based largely on automatic backups being made hourly to local storage.

T2M2 offers three features to see what’s happening with Time Machine and backups:

  • Check Time Machine button, to analyse backups made over the last few hours.
  • Speed button, to view progress reports in the log during a long backup.
  • Browse log button, to show filtered log extracts in fullest detail.

These are each detailed in its Help book. Here I’ll concentrate on the first and last, and defer speed checks to the Help book.

Check Time Machine summary

T2M2 analyses log entries made by Time Machine to produce a summary of how Time Machine has performed over the last few hours. That is broken down into sections as follows.

Backup destination

This is given with the free space currently available on that volume, followed by the results of write speed measurements made before each backup starts.
Backing up 1 volumes to Backups of MacStudio (7) (/dev/disk7s3,TMBackupOptions(rawValue: 257)): /Volumes/Backups of MacStudio (7)
Current free space on backup volumes:
✅ /Volumes/Backups of MacStudio (7) = 1.38 TB
Destination IO performance measured:
Wrote 1 50 MB file at 47.62 MB/s to "/Volumes/Backups of MacStudio (7)" in 1.050 seconds
Concurrently wrote 500 4 KB files at 5.14 MB/s to "/Volumes/Backups of MacStudio (7)" in 0.399 seconds
Wrote 1 50 MB file at 249.01 MB/s to "/Volumes/Backups of MacStudio (7)" in 0.201 seconds
Concurrently wrote 500 4 KB files at 15.43 MB/s to "/Volumes/Backups of MacStudio (7)" in 0.133 seconds

Backup summary

This should be self-evident.
Started 2 auto backup cycles, and 0 manual backups;
completed 2 volume backups successfully,
last backup completed successfully 4.6 minutes ago,
Times taken for each auto backup were 3.3, 0.5 minutes,
intervals between the start of each auto backup were 57.5 minutes.

Backups created and thinned (deleted)

Created 2 new backups
Thinned:
Thinning 1 backups using done thinning:(
"2025-12-07-082555"
)

Local snapshots created and deleted

Created 2 new snapshots, and deleted 0 old snapshots.

Note those snapshots are made on the volumes being backed up, not those created in backup storage.

How items to be backed up were determined

This shows which methods Time Machine used to work out which items needed to backed up, and should normally be FSEvents, once a first full backup has been made.

Of 2 volume backups:
0 were full first backups,
0 were deep scans,
2 used FSEvents,
0 used snapshot diffs,
0 used consistency scans,
0 used cached events..

Backup results

This gives Time Machine’s detailed report on how many items were added, and their size, for each completed backup. Note that backups in Tahoe may be performed in two passes, the first with the device unlocked, and secondly with it locked. When that occurs, each phase reports its own results, so you can expect to see two sets of results for each backup completed.

Finished copying from volume "Data"
3168 Total Items Added (l: 611.5 MB p: 662.3 MB)
9699 Total Items Propagated (shallow) (l: Zero KB p: Zero KB)
910579 Total Items Propagated (recursive) (l: 213.45 GB p: 208.82 GB)
913747 Total Items in Backup (l: 214.07 GB p: 209.48 GB)
1578 Files Copied (l: 188.9 MB p: 209 MB)
970 Directories Copied (l: Zero KB p: Zero KB)
432 Symlinks Copied (l: 11 KB p: Zero KB)
5485 Files Move Skipped (l: Zero KB p: Zero KB) | 5485 items propagated (l: 4.89 GB p: 3.86 GB)
4214 Directories Move Skipped (l: Zero KB p: Zero KB) | 895395 items propagated (l: 208.56 GB p: 204.96 GB)
119 Files Cloned (l: 279 KB p: 487 KB)
69 Files Delta Copied (l: 422.4 MB p: 452.8 MB)

Error messages

✅ No error messages found.

iCloud Drive and pinning

Backing up the contents of iCloud Drive is a longstanding problem for Time Machine when Optimise Mac Storage is enabled. Those files in iCloud Drive that are stored locally will be backed up, but any that have been evicted from local storage could only be included if they were to be downloaded prior to the backup starting. Sequoia and Tahoe let you ‘pin’ individual files and whole folders so they aren’t evicted, and will always be included in Time Machine backups. This is explained here.

Discrepancies and glitches

T2M2 tries to make sense from log entries that don’t always behave as expected. As backups can be complex, there are situations when T2M2 may report something that doesn’t quite add up. This most commonly occurs when there have been manual backups, or a third-party app has been used to control the scheduling and dispatch of backups. If you do see figures that don’t appear quite right, don’t assume that there’s something wrong with Time Machine or your backups. Generally, these glitches disappear from later automatic backups, so you might like to leave it for a few hours before checking Time Machine again to see if the problem has persisted.

Browse log

In practice, you’re most likely to view T2M2’s analysis using the Check Time Machine button first, but here I’ll walk through the greater detail available in log extracts, to aid understanding of the sequence of events in each automatic backup.

t2m2rept1

To help you see which subsystems are involved in each stage, T2M2 displays their entries in different colours, and you can show or hide each of those.

Automatic backups are called off by the DAS-CTS dispatching mechanism, whose entries are shown in red (DAS) and blue (CTS). They schedule backups so they don’t occur when the Mac is heavily loaded with other tasks, and call a chain of services to start the backup itself. Dispatching is reliable over long time periods, but can be delayed or become irregular in some situations. Inspecting those DAS-CTS entries usually reveals the cause.

From there on, most informative log entries are made by Time Machine itself.

Preparations are to:

  • Check the Power State is good to make a backup.
  • Find each destination backup storage, decide whether any rotation scheme applies, so determine the destination for this backup.
  • Check write performance to the backup destination.
  • Find the machine store on the destination.
  • Determine any sticky exclusions using Spotlight.
  • Determine which local snapshots should be removed, and delete them.
  • Create local snapshot(s) as ‘stable’ snapshot(s), and mount them.
  • Mount previous local snapshot(s) as ‘reference’ snapshot(s).
  • Determine how to compute what needs to be backed up from each source. This should normally use FSEvents to build the EventDatabase.
  • Scan the volumes to be backed up to determine what needs to be backed up.
  • Estimate the total size of the new backup to be created.

This may be performed as a first pass with the device unlocked. Once backing up starts, entries cover:

  • Copying designated items to the destination.
  • Posting periodic progress reports during longer backups.

Those may be followed by a second backup pass with the device locked, opening access to a few more items for backup. When that’s complete, closing stages are to:

  • Report details of the backup just completed.
  • Set local snapshots ready for the next backup, with the ‘stable’ snapshot(s) marked as ‘reference’, and unmount local snapshots.
  • Delete working folder used during the previous backup as ‘incomplete’.
  • Create the destination backup snapshot.
  • List the number and frequency of backups in backup storage.
  • Delete any old backups due for removal.
  • Report backup success or other outcome, and the interval to the next scheduled backup.

They’re summarised in this diagram. Although derived from Sonoma, Sequoia and Tahoe bring no substantial change, apart from Tahoe’s two-pass backup sequence.

tmbackup14a

Further reading

Where should you back up to?
How big a backup store do you need?
What performance should you get from different types of storage?
Is it worth storing Time Machine backups on a faster drive?
Snapshots aren’t backups
Exclude or include items in backup, search, iCloud Drive and QuickLook preview
Watch your background: automatic Time Machine backups
Migrating to a new Mac, and claiming Time Machine backups
Planning complex Time Machine backups for efficiency
How Time Machine backs up iCloud Drive in Sonoma
Time Machine backing up different file systems
Which extended attributes does macOS Tahoe preserve?
A brief history of Time Machine

❌