Explainer: I/O throttling
Input and output have long been key factors in computer performance, and capable of bringing everything to a crawl unless carefully managed. This is most obvious when foreground and background processes contend for common resources such as disk storage. A popular solution has been to impose delays on I/O performed for intensive background tasks, like backing up, so giving more important tasks preferential access to I/O. This policy is known as I/O throttling, and has come to determine hardware choice.
For example, folk wisdom is that there’s little point in wasting a faster drive to store your Time Machine backups, because when those backups are made, their write speed is throttled by macOS.
I/O Throttling
Documentation of I/O policy is in the man page for the getiopolicy_np() call in the Standard C Library, last revised in 2019, and prevailing settings are in sysctl’s debug.lowpri_throttle_* values. Those draw a distinction between I/O to local disks, being “I/O sent to the media without going through a network”, such as I/O “to internal and external hard drives, optical media in internal and external drives, flash drives, floppy disks, ram disks, and mounted disk images which reside on these media”, and those to “remote volumes” “that require network activity to complete the operation”. The latter are “currently only supported for remote volumes mounted by SMB or AFP.”
Inclusion of remote volumes is a relatively recent change, as in the previous version of this man page from 2006, they were explicitly excluded as “remote volumes mounted through networks (AFP, SMB, NFS, etc) or disk images residing on remote volumes.”
Five policy levels are supported for IOPOL_TYPE_DISK:
- IOPOL_IMPORTANT, the default, where I/O is critical to system responsiveness.
- IOPOL_STANDARD, which may be delayed slightly to allow IOPOL_IMPORTANT to complete quickly, and presumably referred to in sysctl as Tier 1.
- IOPOL_UTILITY, for brief background threads that may be throttled to prevent impact on higher policy levels, in Tier 2.
- IOPOL_THROTTLE, for “long-running I/O intensive background work, such as backups, search indexing, or file synchronization”, that will be throttled to prevent impact on higher policy levels, in Tier 3.
- IOPOL_PASSIVE, for mounting files from disk images, and the like, intended more for server situations so that lower policy levels aren’t slowed by them.
However, the idea that throttled I/O is intentionally slowed at all times isn’t supported by the explanation of how throttling works: “If a throttleable request occurs within a small time window of a request of higher priority, the thread that issued the throttleable I/O is forced to a sleep for a short period. This slows down the thread that issues the throttleable I/O so that higher-priority I/Os can complete with low-latency and receive a greater share of the disk bandwidth.”
Settings in sysctl for Tier 3 give the window duration as 500 milliseconds, and the sleep period as 200 ms, except for SSDs, whose sleep period is considerably shorter at just 25 ms. Those also set a maximum size for I/O at 131,072 bytes. You can view those settings in the debug section of Mints’ sysctl viewer.
Some years ago it was discovered that the user can globally disable IOPOL_THROTTLE and presumably all other IOPOL_TYPE_DISK policy with the commandsudo sysctl debug.lowpri_throttle_enabled=0
although that doesn’t persist across restarts, and isn’t documented in the man page for sysctl. This is provided in an option in St. Clair Software’s App Tamer, to “Accelerate Time Machine backups”, for those who’d rather avoid the command line.
Apple silicon Macs
Since the man page for getiopolicy_np() was last revised, Apple silicon Macs have changed I/O. Most is now handled in some way through specialised Arm cores within the chip, and CPU cores come in two (now three) types, Efficiency and Performance (and Super in the M5 family). Background threads such as those performing the work associated with IOPOL_THROTTLE are now most likely to be running on Efficiency (or M5 Performance) CPU cores.
If you wanted to do away with all throttling, you not only have to change the debug.lowpri_throttle_enabled setting, but you’d need to move those background threads to run them on Performance (M5 Super) CPU cores, which isn’t possible unless you have control over the code. There is evidence that macOS may do this anyway when performing the first full Time Machine backup, which achieves significantly faster speeds than subsequent incremental backups.
Dangers
The big disadvantage of completely disabling I/O throttling policy is this can only be applied globally, so including I/O for Spotlight indexing, file synchronisation, and other background tasks, as well as those needing high-priority access to I/O. Leaving the policy disabled in normal circumstances could readily lead to adverse side-effects, allowing Spotlight indexing threads to swamp important user storage access, for example.
Conclusions
Even when Macs were simpler and all CPU cores were the same, disabling I/O throttling was at best experimental, and ran the risk of compromising higher priority I/O. In Apple silicon Macs, relocating threads from E to P cores isn’t possible, except when running them in a virtual machine. Without that, there seems little if any benefit from disabling I/O throttling. However, the claim that there’s no performance benefit to be obtained from faster backup storage media is demonstrably false. Perhaps it’s time to return I/O throttling to the obscurity it deserves.


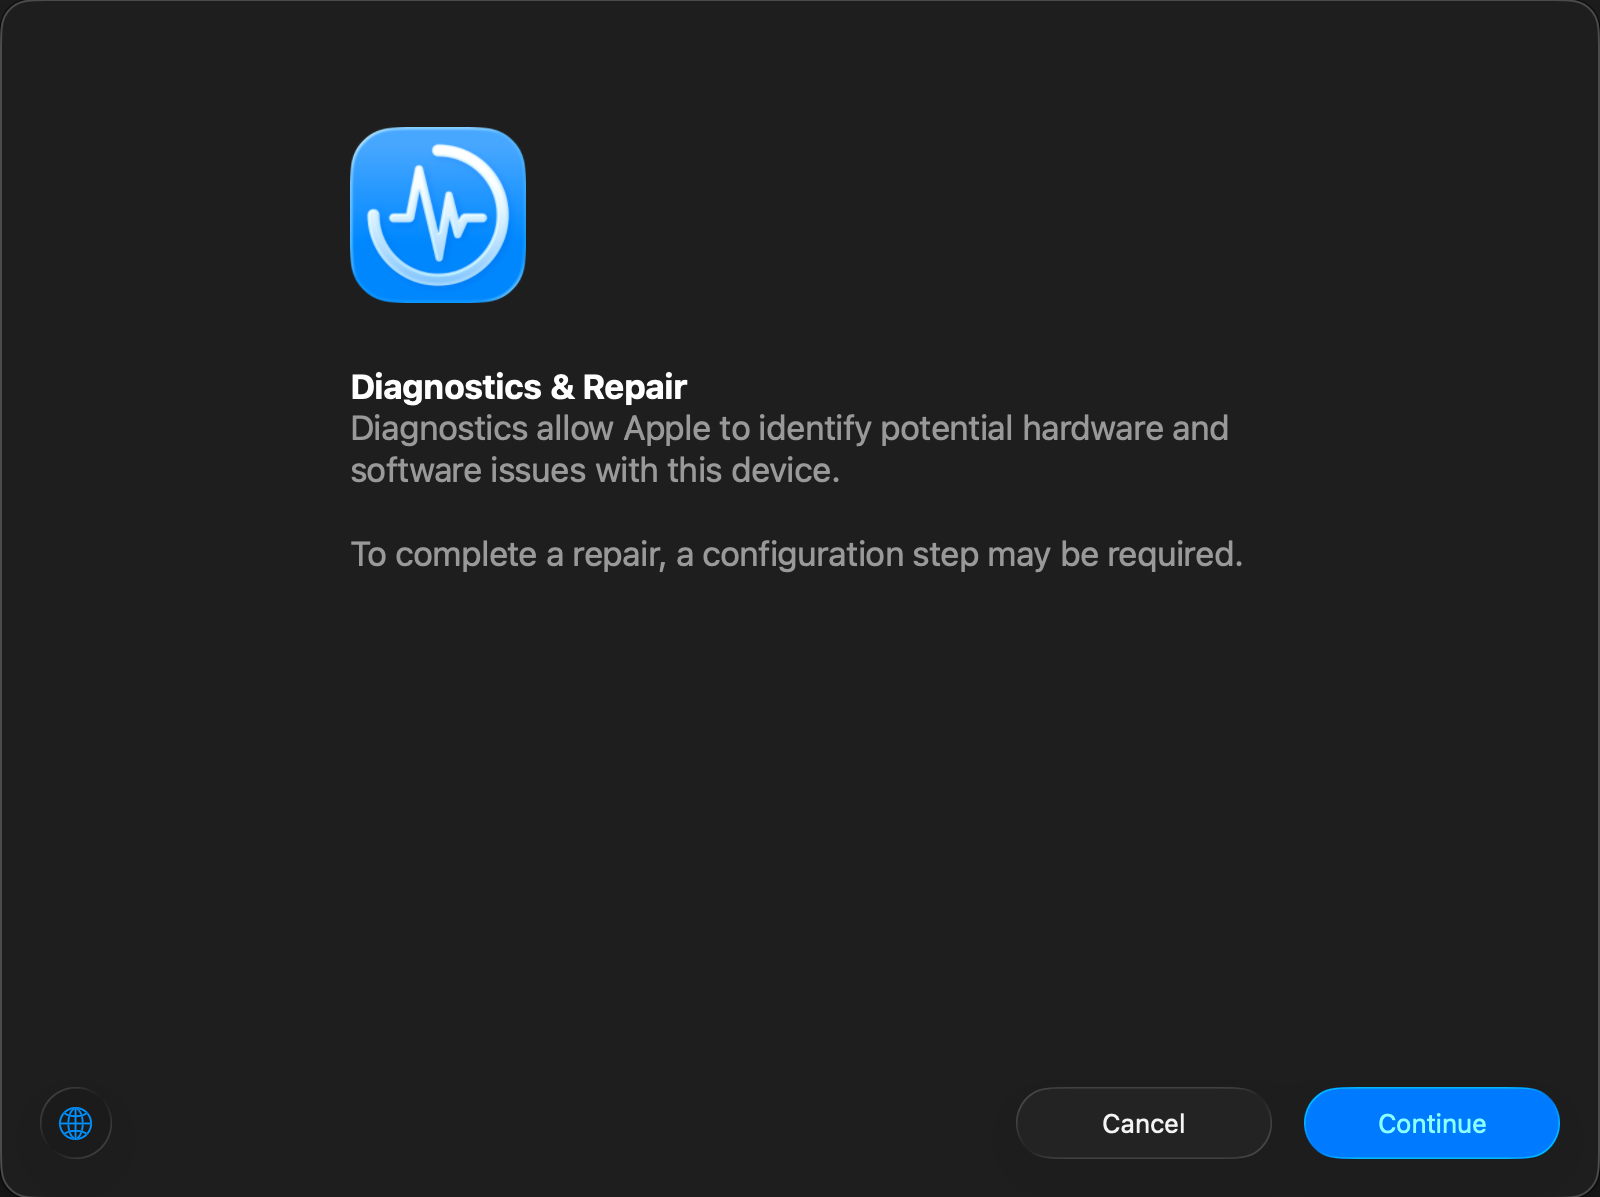
 to indicate success, or a warning triangle or error symbol if the test couldn’t be attempted (power supply when not connected to a laptop), or problems were discovered. Individual tests and their results are listed from each test’s ⓘ button.