 Login
LoginLast Week on My Mac: snapshots, the elephant in APFS
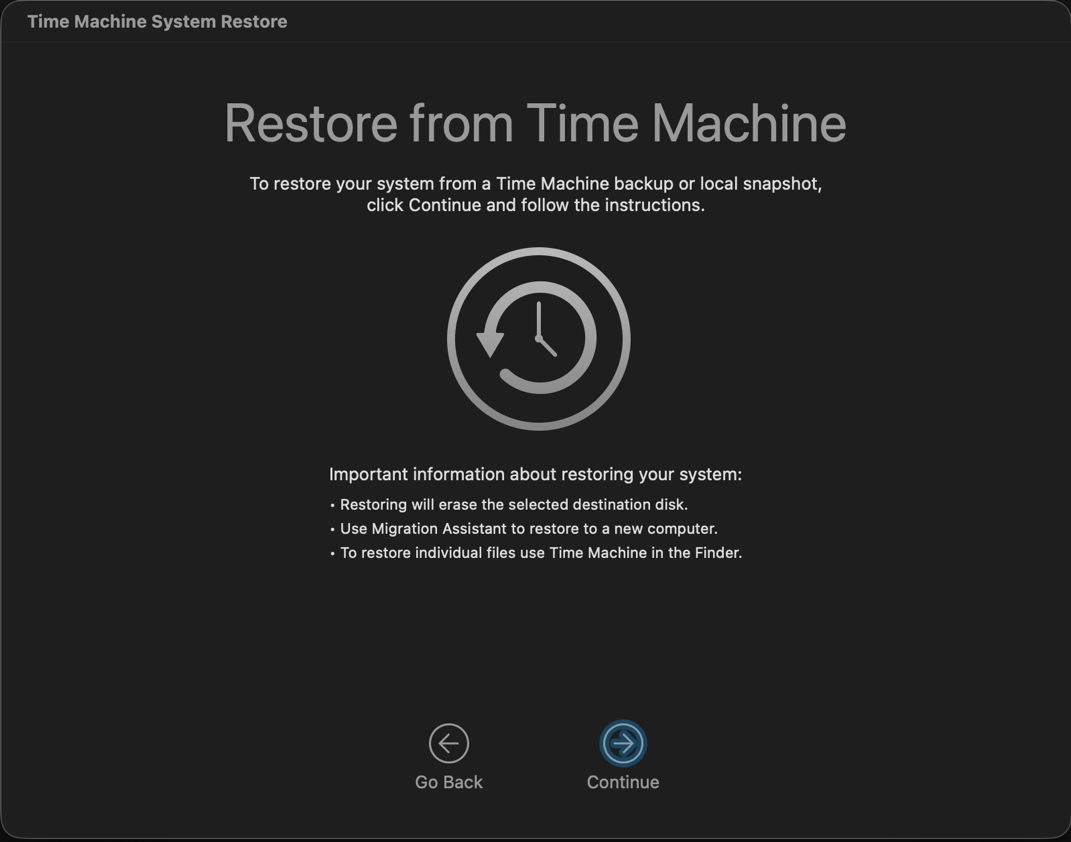
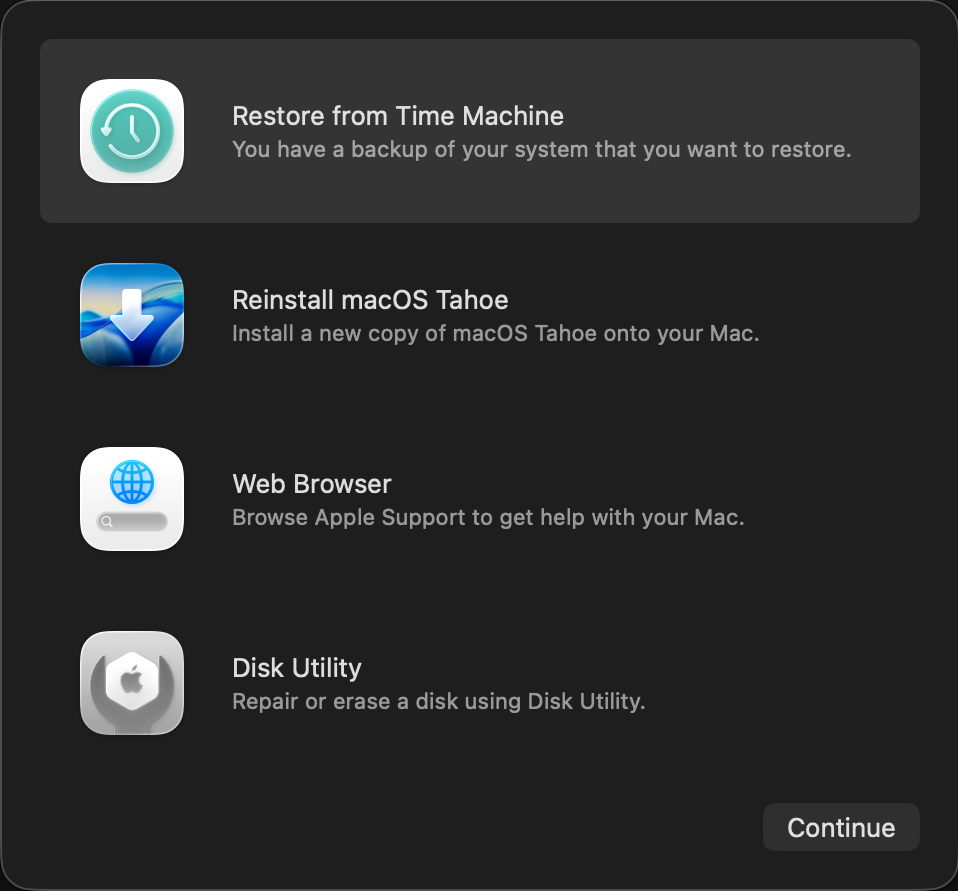
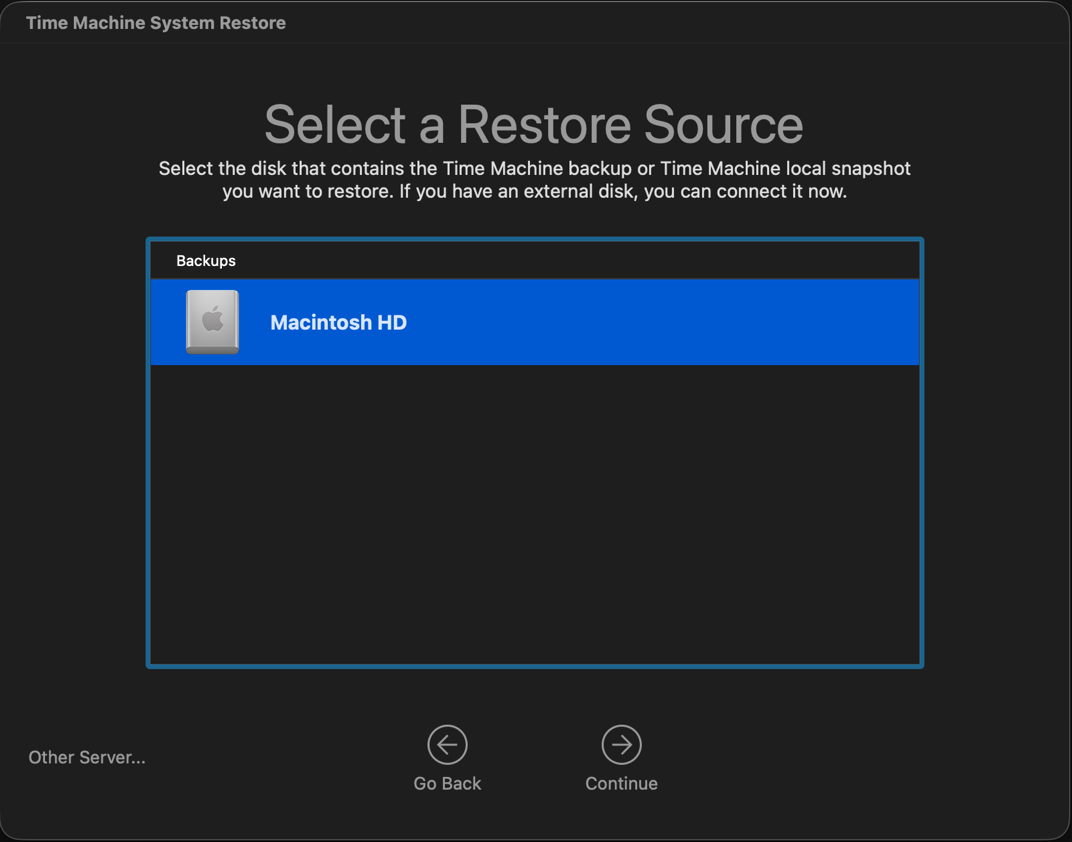
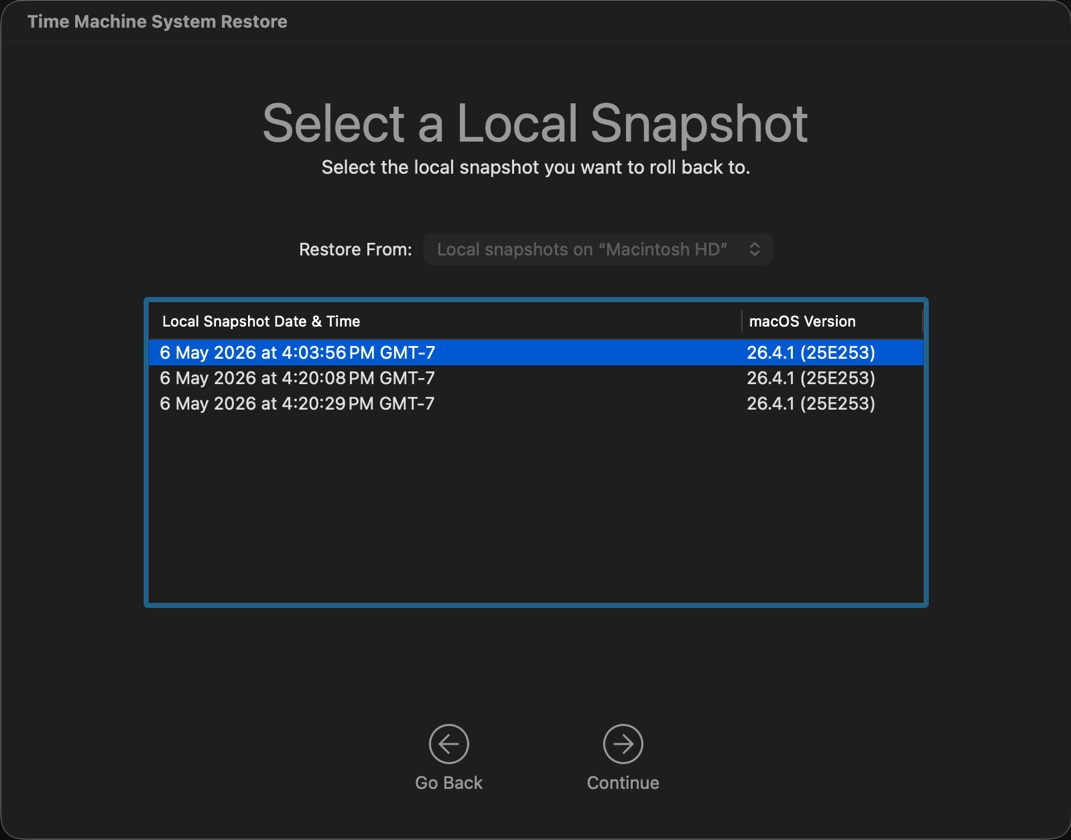
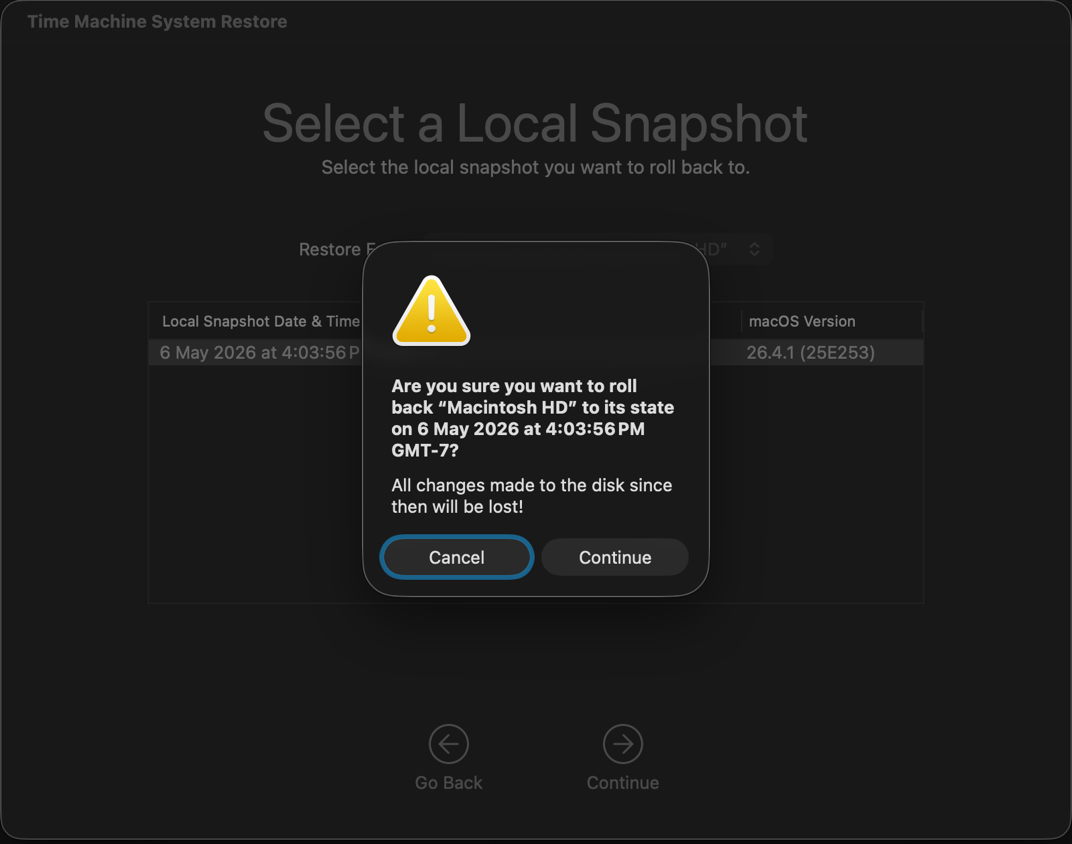
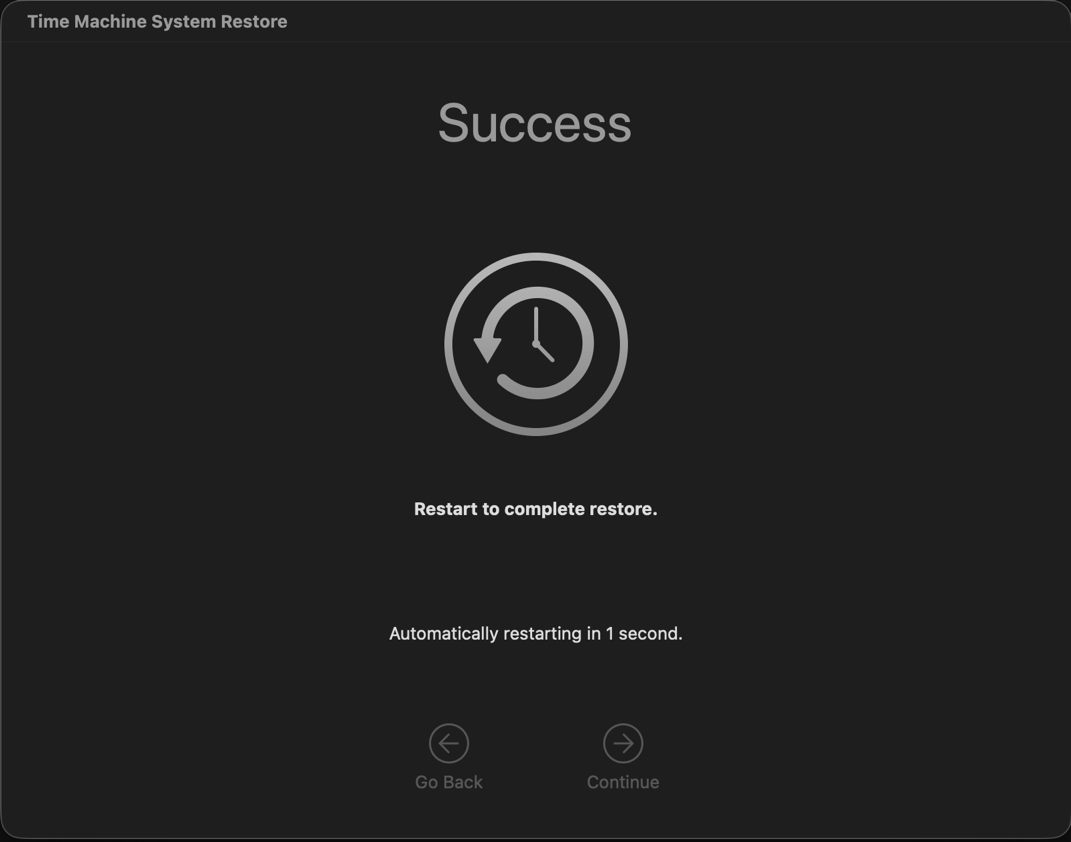
When Apple announced APFS at WWDC ten years ago, snapshots were demonstrated as one of its major features, and intended to form the basis of Time Machine’s backups in the future. Shortly after its initial release in High Sierra, Rich Trouton at Der Flounder documented their use, including how to roll back to a snapshot using Time Machine System Restore in Recovery mode. Apple described this in a support note now replaced by its successor, last revised six months ago, which carefully avoids any mention of rollback.
Snapshots are widely available in modern file systems, in some being referred to as shadow copies, and rolling back to them is a popular if not indispensable feature. Except in APFS, where there appears to be only one supported method, which is severely restricted, as I described last week. That enables you to roll back your Mac’s current Data volume to a snapshot, but doesn’t work for any other volume as far as I can discover.
Disk Utility can display and delete snapshots on any mounted disk, but can’t create or roll back to them. Its command line equivalent diskutil has the same limits (unless you’re ChatGPT). tmutil appears to be the only way to create a snapshot in macOS, but can’t perform that for an arbitrary volume, only the current Data volume and those being backed up by Time Machine.
If I wanted to make a one-off snapshot of a volume on an external SSD, I’d thus have to turn to a third-party utility. Even here I’m up against Apple again, as the API for snapshots is controlled by two restricted entitlements, com.apple.developer.vfs.snapshot for creating and deleting them, and com.apple.private.apfs.revert-to-snapshot for rollback. So far, Apple appears to have approved only apps that make backups and automatically delete their old snapshots to prevent them from overwhelming storage space, and I’m not aware of one with the com.apple.private.apfs.revert-to-snapshot entitlement to allow rollback.
As Adam Leventhal has documented in his open source command tool snaputil, the API call fs_snapshot_revert() is used to perform a rollback, but without the com.apple.private.apfs.revert-to-snapshot entitlement is non-functional.
Having drawn a blank with Apple’s tools, you might feel tempted to ask AI to help. If you’re lucky it might talk you through using Time Machine System Restore in Recovery mode, although as we’ve seen that can’t help with any volume other than the current Data volume.
ChatGPT’s responses to two queries from different people are more concerning, as it repeatedly asserted that you can roll back using a completely imaginary verb with the diskutil command, in one case using a command of the formdiskutil apfs revertToSnapshot -n com.apple.TimeMachine.YYYY-MM-DD-HHMMSS /
or usingdiskutil apfs revertToSnapshot disk1s5 -n com.apple.TimeMachine.YYYY-MM-DD-HHMMSS
instead.
I have checked that in normal user mode and in Recovery mode, only to be told the revertToSnapshot verb isn’t recognised. With the aid of virtual machines, I’ve confirmed that as far back as macOS 12 Monterey, and there’s absolutely no sign of it. When challenged, ChatGPT maintained that it was “directionally right” that revert capability exists in APFS, as we already know from Time Machine System Restore, and that Apple’s entitlement structure “proves it”. It’s a shame I had to do so much checking to confirm that ChatGPT was plain wrong, and had apparently made up those commands.
Not being able to make a one-off snapshot of a volume on an external SSD might appear a small if annoying oversight, but it has consequences. Snapshots are not only blazingly quick in rollback, but they are also the only means of restoring some important volume content, such as document versions, which is easily demonstrated.
When files are restored by copying from a mounted snapshot, all their saved versions are lost. They are also lost from Time Machine backups, and in any case would be lost during migration. The only way to preserve those versions would be using a third-party tool such as my Versatility or Revisionist.
Ten years after Apple first promised us snapshots in APFS, we still don’t have access to their full capabilities, and their use remains largely undocumented. Yet they’re readily available in competing operating systems and file systems.