
Does disk storage speed limit macOS virtual machines?
In most respects, lightweight virtualisation of macOS on Apple silicon delivers almost the same performance as running code on the host. That’s the result of having direct access to CPU cores and the GPU. However, earlier implementations in Monterey and Ventura performed poorly when accessing the Data volume in the Virtual Machine, with read/write speeds measured at 4.4/0.7 and 5.4/0.7 GB/s respectively, without FileVault or other encryption. In macOS 26.3.1 both RAW and ASIF encrypted disk images show disappointing performance particularly when writing to them. This article therefore re-evaluates VM disk performance to see if that extends to VMs.
Methods
Tests were performed on two freshly made 100 GB VMs in RAW format using the macOS 26.4 IPSW, running on a Mac mini M4 Pro in macOS 26.4. VMs were given 5 CPU cores and 16 GB memory, didn’t connect to an Apple Account, and were built and run in Viable and Vimy, both of which use the standard macOS API for virtualisation.
Performance was measured using Stibium’s ‘Gold Standard’ with 5 rather than 10 test sets, reading and writing a total of 26 GB in 80 files ranging in size between 2 MB and 2 GB. Following an initial write test, the VM was restarted before performing the read test. The first VM was configured with FileVault enabled, and the second with it disabled. In addition to those, standard read/write performance was measured as before on a 100 GB RAW disk image on the host, and on a 100 GB ASIF image, both being encrypted using 256-bit AES.
Results
Measured read/write speeds were:
- Native SSD, FileVault on – 6.57/7.66 GB/s
- VM, FileVault off – 6.62/5.91 GB/s
- VM, FileVault on – 4.66/3.11 GB/s
- RAW disk image, 256-bit AES – 2.82/1.59 GB/s
- ASIF disk image, 256-bit AES – 2.85/1.76 GB/s.
With FileVault disabled, performance in the VM was surprisingly close to that of the host’s internal SSD, with a small reduction in write speed from 7.66 to 5.91 GB/s. That’s a huge improvement on previous results, with writes being almost ten times faster.
Enabling FileVault did reduce performance significantly, particularly write speed which fell to about half. However, those are still good enough to be acceptable for most purposes.
No significant change was seen in host disk image performance from those measured in 26.3.1, though, which remains substantially slower than the VM with FileVault enabled.
Conclusions
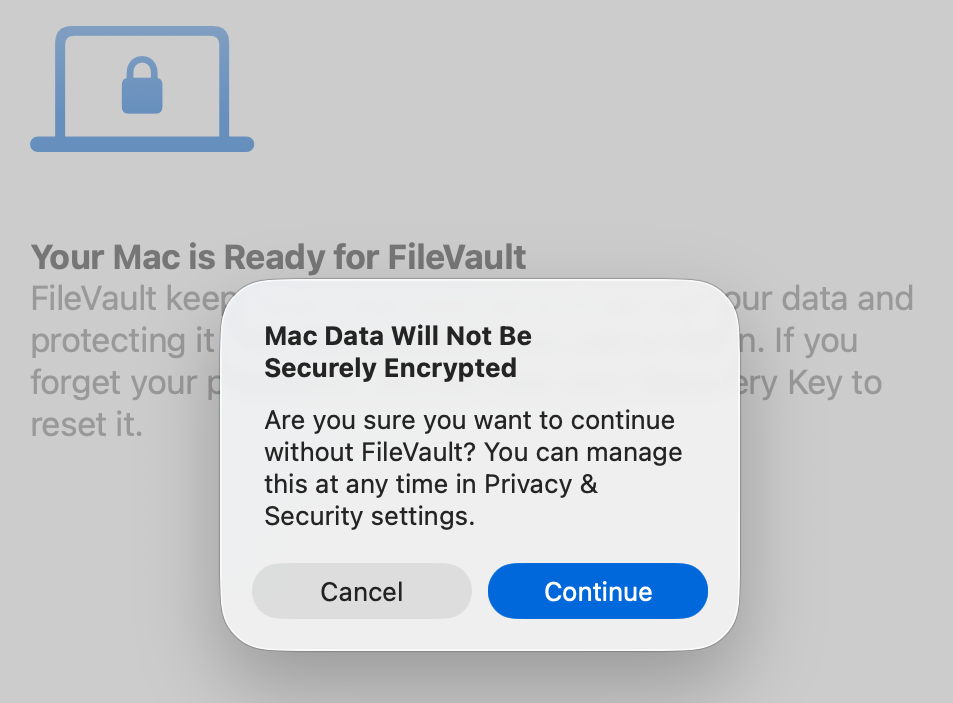
VMs are vulnerable if they don’t have FileVault enabled. Without encryption, sensitive contents would be relatively easy to access if the VM were to fall into the hands of an attacker. Enabling FileVault is thus potentially more important for a VM.
Thankfully, with such great improvements in VM disk performance, those hosted on an Apple silicon Mac’s internal SSD are unlikely to be slowed much by their disk performance.
This makes it the more puzzling that encrypted RAW and ASIF disk images should perform so poorly, and it’s disappointing to see that continues in macOS 26.4. Over the same period that VM disk performance has increased so impressively, that of disk images has headed in the opposite direction.
VMs and BSIs
If you tried installing the recent Background Security Improvement (BSI) in a macOS 26.3.1 VM, you were probably disappointed. In this respect, the VM didn’t work as expected. I was unable to find the BSI in its section in Privacy & Security settings. What did help was downloading it using SilentKnight, although that can’t install BSIs successfully. Instead, I restarted the VM and Privacy & Security offered to install the BSI at last.
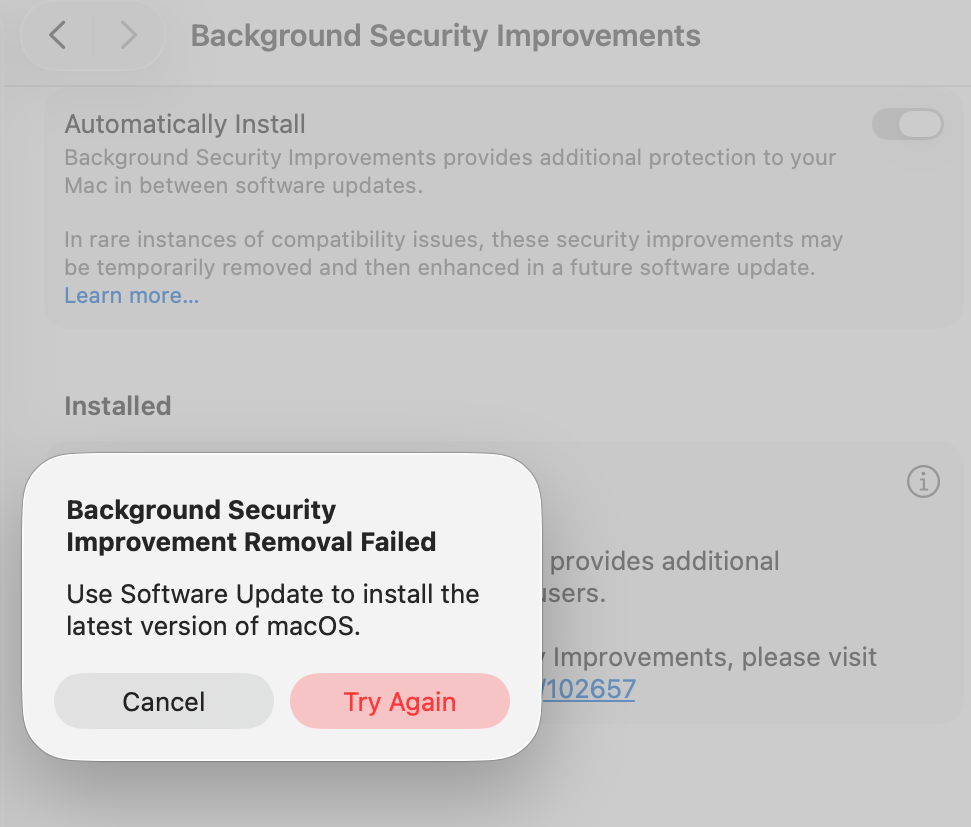
Once installed, Privacy & Security offered to remove the BSI, but failed to do so, with SecurityImprovementsExtension reporting:Rollback failed: Error Domain=SUOSUErrorDomain Code=103 "Unable to remove Background Security Improvement" UserInfo={NSLocalizedDescription=Unable to remove Background Security Improvement, NSLocalizedRecoverySuggestion=Use Software Update to install the latest version of macOS.}
For the time being BSIs appear dysfunctional in VMs.
![]()