What happens in the log when an app crashes as it starts up?
In yesterday’s guide to dealing with apps that crash immediately you open them, I carefully avoided mentioning what you might find in the log. This article puts that right.
The list of common causes I gave is:
- macOS intentionally crashed the app because of an error in code signing, or another serious security failure;
- the app failed because it was in translocation;
- the app couldn’t open a damaged or incompatible document;
- the app had a problem with its Preferences.
Investigating these in the log is among the simplest tasks for those learning to access it, providing the app crashes reliably. Show the seconds value in the menu bar clock, and open the Applications folder containing the app. Select it as the seconds reach about 45, to allow time for its icon to be displayed, then double-click the app to run it as the seconds reach 00, but not a moment earlier. Don’t touch the mouse/trackpad or keyboard for at least 5 seconds, by which time the crash should have occurred and the notification or crash log should have been displayed.
Then open LogUI (or a substitute), and set it to extract and display all the entries for 5 seconds from 00 seconds. If you open a new window in LogUI the start time will be preset to the time you opened the app, all ready to get the log extract.
The double-click is easy to spot in the log, as it’s marked by four almost identical Activity entries with a yellow ![]() softball emoji, each reading something like
softball emoji, each reading something likeAppKit Finder sendAction:
short entries that are quick to locate. Entries following the fourth of those then report what happened next.
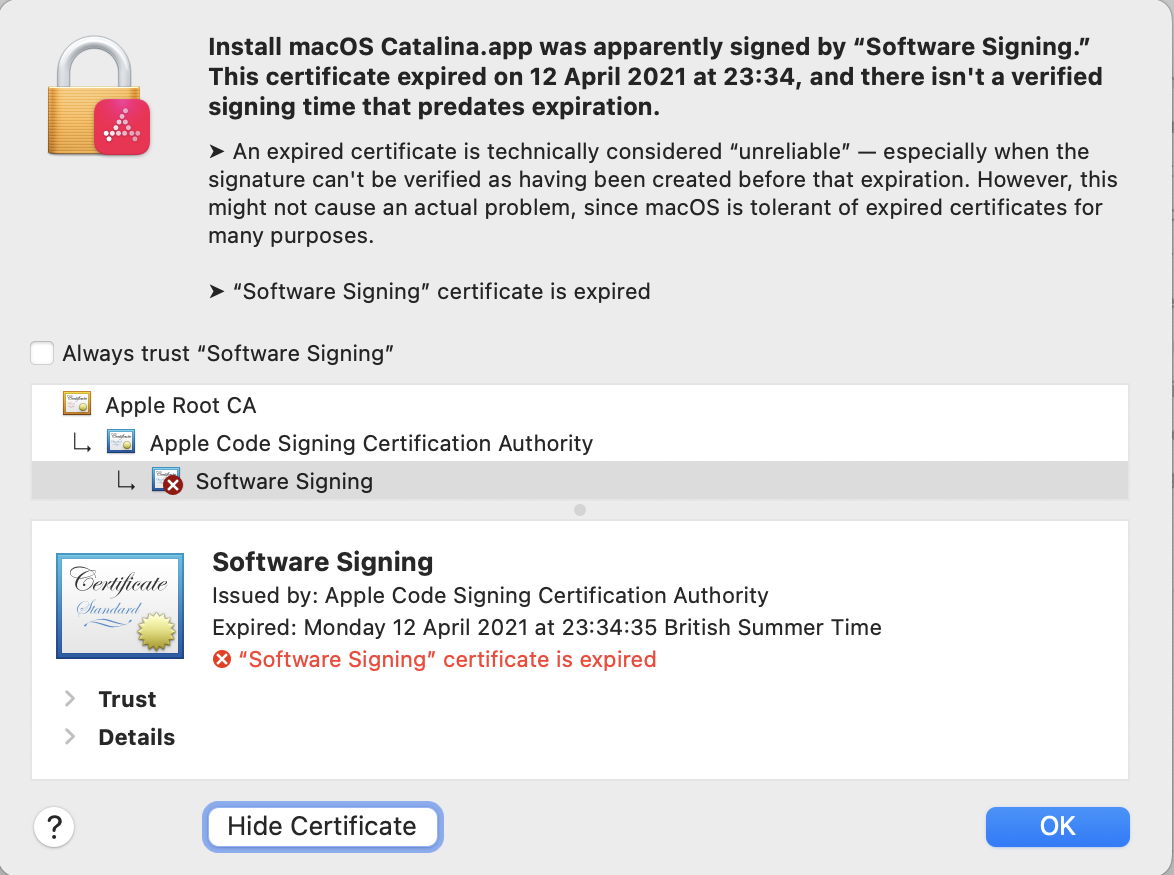
Code signing errors
These are normally easy to recognise, as they start with a call to verify the signature,00.940943 Finder sendAction:
00.963228 syspolicyd SecTrustEvaluateIfNecessary
00.963982 trustd SecKeyVerifySignature
that’s followed by an error that’s repeated many times,00.981296 lsd com.apple.securityd MacOS error: -67030
Follow those down a bit further and you’ll see this reported in other subsystems01.013084 com.apple.launchservices Error -67030 validating the signing information for [private], error=Error Domain=NSOSStatusErrorDomain Code=-67030 "(null)" UserInfo={SecCSArchitecture=arm64}
Normally, this will be checked again by AMFI (Apple Mobile File Integrity)01.030162 amfid Entering OSX path for /Users/hoakley/Documents/000aa/DelightEd.app/Contents/MacOS/DelightEd
01.031629 amfid SecKeyVerifySignature
01.036291 amfid com.apple.securityd MacOS error: -67030
01.048491 error amfid com.apple.MobileFileIntegrity.framework Code failed basic validity check (error: -67030): Error Domain=NSOSStatusErrorDomain Code=-67030 UserInfo={SecCSArchitecture=[private]}
01.048857 amfid /Users/hoakley/Documents/000aa/DelightEd.app/Contents/MacOS/DelightEd not valid: Error Domain=AppleMobileFileIntegrityError Code=-420 "The signature on the file is invalid" UserInfo={NSURL=file:///Users/hoakley/Documents/
000aa/DelightEd.app/Contents/MacOS/DelightEd, NSLocalizedDescription=The signature on the file is invalid}
That’s confirmed and actioned by the kernel01.048950 kernel AMFI: code signature validation failed.
01.052968 amfid com.apple.MobileFileIntegrity [private]: Broken signature with Team ID fatal.
01.053043 kernel AMFI: When validating /Users/hoakley/Documents/000aa/DelightEd.app/Contents/MacOS/DelightEd: The code contains a Team ID, but validating its signature failed. Please check your system log.
01.053052 kernel mac_vnode_check_signature: /Users/hoakley/Documents/000aa/DelightEd.app/Contents/MacOS/DelightEd: code signature validation failed fatally: When validating /Users/hoakley/Documents/000aa/DelightEd.app/Contents/MacOS/DelightEd: The code contains a Team ID, but validating its signature failed. Please check your system log.
01.053059 kernel validation of code signature failed through MACF policy: 1
01.053061 kernel check_signature[pid: 2718]: error = 1
01.053066 kernel proc 2718: load code signature error 4 for file "DelightEd"
01.053461 kernel AMFI: hook..execve() killing xpcproxy (pid 2718): Attempt to execute completely unsigned code (must be at least ad-hoc signed).
01.053624 kernel ASP: Sleep interrupted: ref 29, signal 0x100, pid: 2718
with the conclusion01.053627 kernel ASP: Security policy would not allow process: 2718, /Users/hoakley/Documents/000aa/DelightEd.app/Contents/MacOS/DelightEd
You’re not likely to miss those.
Common error codes from signature validation include:
- -2147409652 CSSMERR_TP_CERT_REVOKED, the certificate has been revoked
- -67007 resource envelope is obsolete (version 1 signature)
- -67008 unsealed contents present in the root directory of an embedded framework
- -67013 resource envelope is obsolete (custom omit rules)
- -67021 nested code is modified or invalid
- -67023 invalid resource directory (directory or signature have been modified)
- -67030 invalid Info.plist (plist or signature have been modified)
- -67054 a sealed resource is missing or invalid
- -67056 code has no resources but signature indicates they must be present
- -67061 invalid signature (code or signature have been modified)
- -67062 code object is not signed at all, which is by far the most common.
In this case, I had changed a single character in the app’s Info.plist, which broke its CDHashes, and resulted in the correct error code of -67030.
App translocation
In this case, you’re looking for two related pieces of evidence, that a process mentions the act of translocation, and that the app is run from a translocation location. Again, these normally aren’t hard to find.
Shortly after the double-click,00.968186 Finder sendAction:
you should see mention of the creation of the translocation directory01.040587 lsd com.apple.securityd SecTranslocateCreateSecureDirectoryForURL: created /private/var/folders/x4/
x00kny5x0_5dsnmmxhtw6hc80000gn/T/AppTranslocation/B9651238-6B8C-4750-BFAC-E0D1A327768C/d/DelightEd.app
A little further down the log you’ll see the app being referenced in that long path01.069877 amfid Entering OSX path for /private/var/folders/x4/x00kny5x0_5dsnmmxhtw6hc80000gn/T/AppTranslocation/
B9651238-6B8C-4750-BFAC-E0D1A327768C/d/DelightEd.app/Contents/MacOS/DelightEd
01.090927 com.apple.runningboard _executablePath = /private/var/folders/x4/x00kny5x0_5dsnmmxhtw6hc80000gn/T/AppTranslocation/
B9651238-6B8C-4750-BFAC-E0D1A327768C/d/DelightEd.app/Contents/MacOS/DelightEd
and so on.
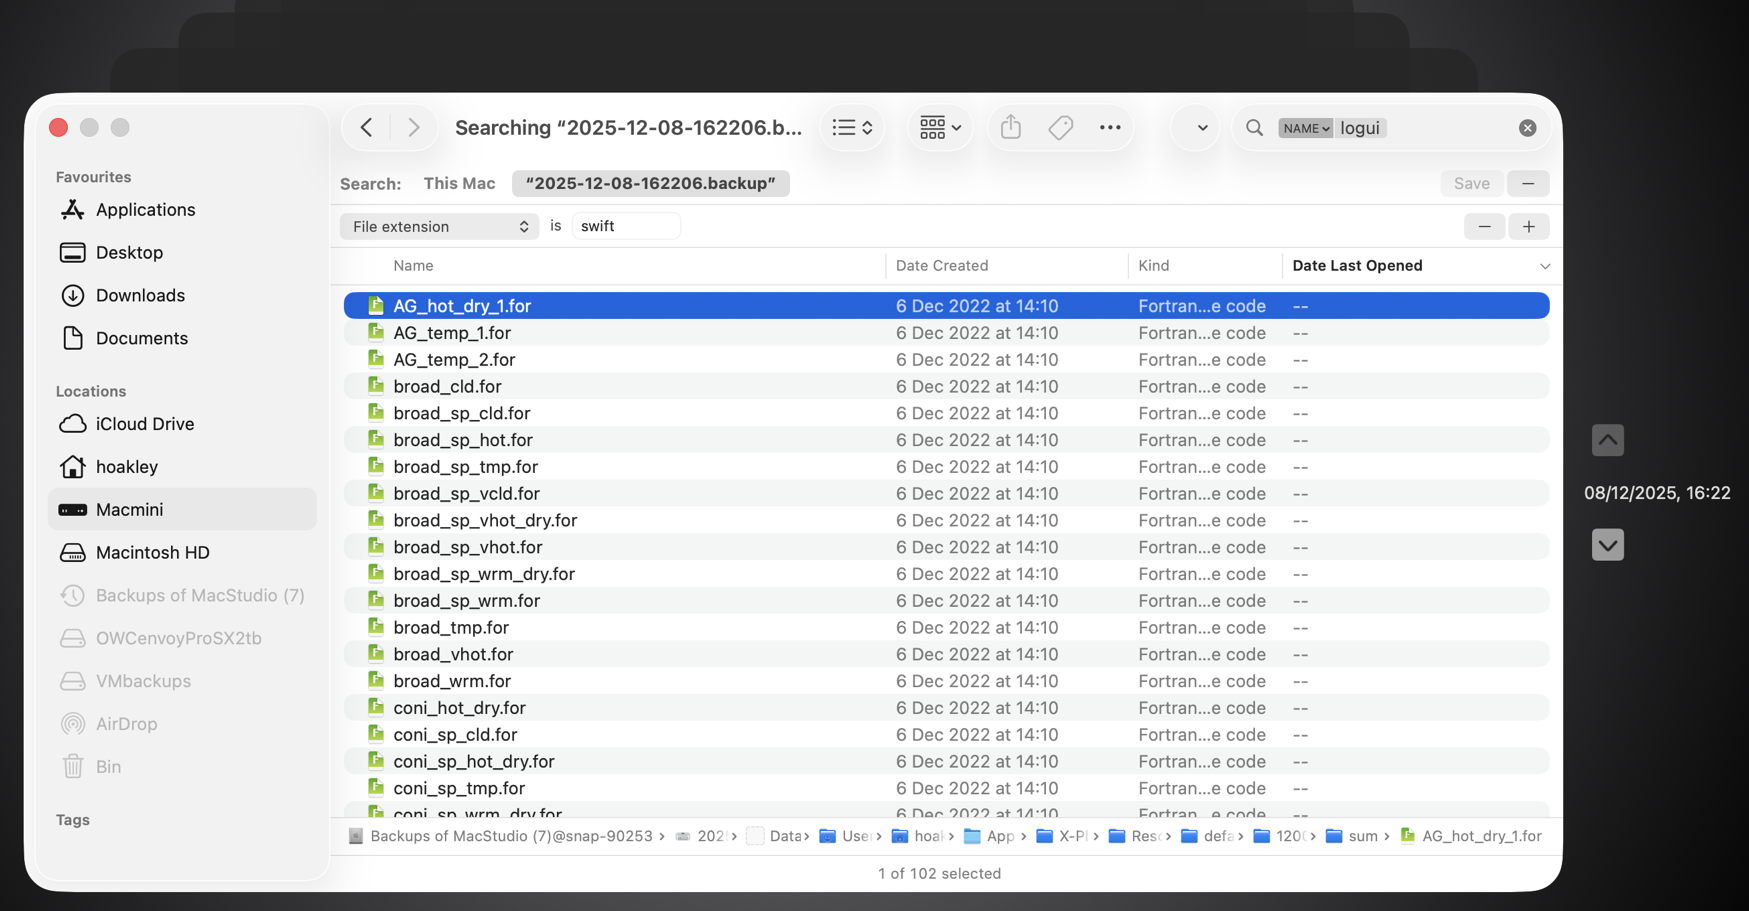
If you’re struggling to find those, select the Messages item at the right end of the toolbar in LogUI, type the app name into the search box there and press Return, to filter entries.
Failed to open document
Of the four common causes of early app crashes, these are hardest to find evidence in the log. This is because the only process likely to know what went wrong is the app itself, and few third-party apps write anything useful to the log. You might find a useful entry or two by setting that menu at the right end of LogUI’s toolbar to Processes, entering the app name into the search box, and pressing Return. However, in many cases there will be little or no useful information.
Preference file problems
My previous article referred only to standard preferences that are handled by cfprefsd. Some apps run their own preferences using their own code, and neither cfprefsd nor the defaults command covers them. If they have a problem when accessing those custom files, it’s most unlikely to be recorded in the log.
In other apps, you should look for evidence that the crash happened shortly after the cfprefsd service is connected to the app, to support the standard features.
Starting once again with the double-click01.579559 Finder sendAction:
it may take some time for the opening stages to complete. You should then see the XPC connection between the app and cfprefsd being set up for both root and the user01.638428 DelightEd com.apple.xpc [0x102cf6980] activating connection: mach=true listener=false peer=false name=com.apple.cfprefsd.daemon
01.638504 DelightEd com.apple.xpc [0x102cf7960] activating connection: mach=true listener=false peer=false name=com.apple.cfprefsd.agent
01.638563 cfprefsd com.apple.xpc [0xa252bdb00] activating connection: mach=false listener=false peer=true name=com.apple.cfprefsd.daemon.peer[2910].0xa252bdb00
01.638659 cfprefsd com.apple.xpc [0x86f2d3600] activating connection: mach=false listener=false peer=true name=com.apple.cfprefsd.agent.peer[2910].0x86f2d3600
The app will normally crash during or shortly after the loading of preferences, marked by entries like01.641152 DelightEd Loading Preferences From User CFPrefsD
01.706158 DelightEd Loading Preferences From System CFPrefsD
These too can be found more easily by setting the menu at the right end of LogUI’s toolbar to Processes, entering the app name into the search box, and pressing Return.
Happy hunting!
![]()