
Normal view

There are new articles available, click to refresh the page.
Before yesterdayMain stream

Explainer: AppKit and SwiftUI

By: hoakley
4 April 2026 at 15:00

Look across a range of third-party apps on your Mac and you’ll see how different their interfaces are. Casting aside those based on cross-platform frameworks like Electron, most of the best either use traditional AppKit, or its more recent successor SwiftUI. This article explains how those have come about, and how they differ.

AppKit is descended from the UI framework in NeXTSTEP, and has been at the core of Mac OS X from the start. For much of the last 26 years, it has provided the interface for the Finder and Apple’s own apps. When Apple designed iOS and iPadOS, they were given equivalents in UIKit, which isn’t as extensive, and hasn’t facilitated cross-platform development.

Although AppKit apps can construct their interface procedurally, most rely on Interface Builder, a GUI tool built into Xcode that separates the design of menus, windows, their views and controls from the largely procedural or imperative code used to drive them. You can often tell apart apps using AppKit by their use of Storyboard files in the Resources folder in their app bundle.

SwiftUI was announced at WWDC in June 2019, and first became available in macOS 10.15 Catalina. One of its primary goals is make it easier for apps to run across multiple Apple operating systems. It adopts a declarative approach, so rather than separating interface design into a graphical editor, its windows, their views and controls are built from data structures as in the example given in the Appendix below. Their code can then be previewed in real-time, but there’s no direct manipulation in those previews, which are developed iteratively in code.

For example, to increase the size of an AppKit text entry box in Interface Builder, the developer can either drag the box to its new size, or adjust its dimensions in a control, and see the result immediately. In SwiftUI, those dimensions are edited in the code defining that box within its view and window, which is then converted into a graphical preview. Although this difference may appear subtle, it’s fundamental. Apps that use SwiftUI without AppKit don’t have Storyboards in the Resources folder in their app bundle.

The two come from different eras in human interfaces.

AppKit presents a more static approach, where the contents of its views are their dynamic, as demonstrated in SilentKnight version 2 below.

sk221

SwiftUI is thoroughly dynamic, reconfiguring its look using animations and transitions in layouts that adapt to their purpose, as shown in a prototype for SilentKnight version 3 below. Although AppKit is thoroughly accessible from Swift code, it was developed for Objective-C, while as its name implies, SwiftUI is thoroughly Swift-oriented.

silentknight32

While there are still many fine apps that only use AppKit, SwiftUI remains work in progress, and it’s common for apps still to dip into AppKit to handle tasks that can’t be achieved in SwiftUI alone. Among many examples remaining is the display of PDF documents, which is still only achievable from an AppKit view. This is improving as SwiftUI evolves, but that in turn poses problems with macOS support.

For example, one of the most substantial changes in SwiftUI has been the move from its Observable Object protocol to the Observable macro, which affects the back end of apps. But the Observable macro is only available in apps written for macOS 14 or iOS 17 or later, which explains why so many apps using SwiftUI require a minimum of macOS 14.6, so they can take advantage of this architectural change. It’s not just the more obvious features in new versions of macOS that limit backward compatibility of apps.

Among the archipelago of delights brought in SwiftUI are its List View, and Swift Charts.

AppKit has excellent support for Attributed Strings that are essentially their underlying data for Rich Text. Log entries shown in my AppKit-based log browser Ulbow demonstrate how its NSTextView can handle tens of thousands of lines of Attributed String data representing log entries.

In LogUI, I have replaced that with a SwiftUI List View, which is far more versatile, but doesn’t use Attributed Strings.

Although in recent versions of macOS this readily copes with tens or even hundreds of thousands of lines, it’s still prone to displaying blank areas when scrolling.

Implementing charts in Logistician relies entirely on the capabilities of Swift Charts, but those are only available in macOS 13 and later.
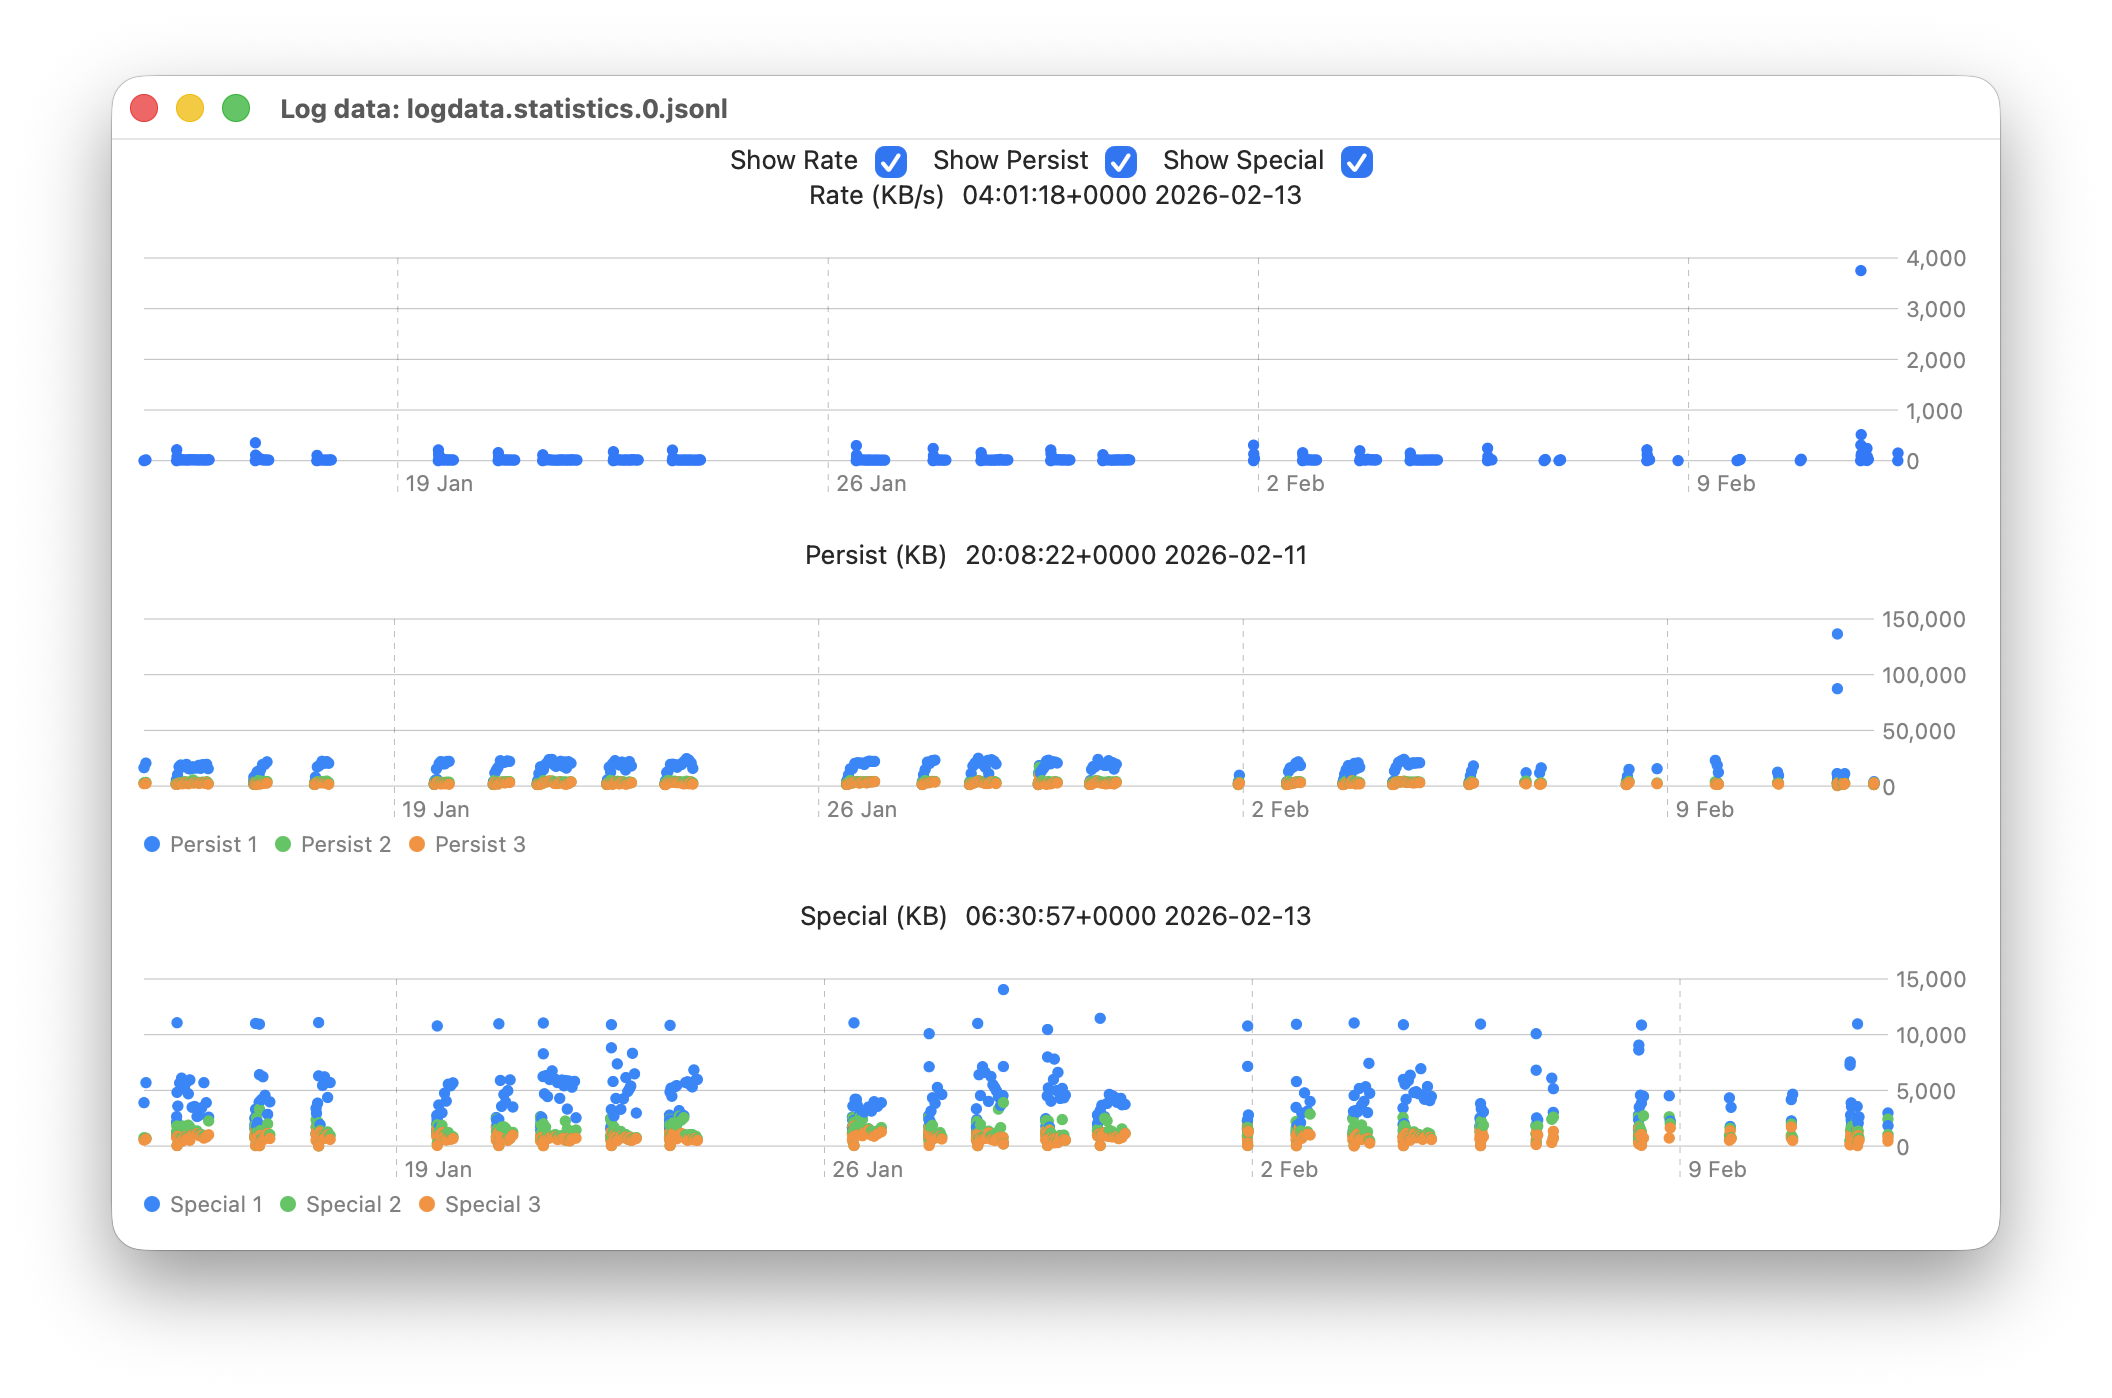
Although it might appear that Mac developers are now spoilt for choice between AppKit and SwiftUI, there are many occasions when they’d prefer taking the best bits of each and building something more coherent and comprehensive, and better tailored to the desktop rather than the device.

Appendix: Example SwiftUI code

struct ContentView: View {
    @State private var messageInfo = Logger()
    
    var body: some View {
        let _ = messageInfo.getMessages()
        if (self.messageInfo.logList.count > 0) {
            VStack {
                List(self.messageInfo.logList) { line in
                MessageRow(line: line)
                }
            }
            .frame(minWidth: 900, minHeight: 200, alignment: .center)
        } else {
            Text("No results returned from the log for your query.")
                .font(.largeTitle)
        }
    }
}

struct MessageRow: View {
    let line: LogEntry

    var body: some View {
        HStack {
            Text(line.date + "  ")
            if #available(macOS 14.0, *) {
                Text("\(line.type)")
                    .foregroundStyle(.red)
            } else {
                Text("\(line.type)")
                    .foregroundColor(.red)
            }
            if !line.activityIdentifier.isEmpty {
                Text(line.activityIdentifier)
            }
//          etc.
            Text(line.composedMessage)
            }
        }
    }


Last Week on My Mac: Update progress

By: hoakley
29 March 2026 at 15:00

One of the longstanding jokes in computing is how misleading progress indicators can be, and last week most of us had a timely reminder when we updated macOS. However much we might like a perfectly accurate linear indicator for macOS updates, this is one of those situations where the best we can expect is a compromise, as I tried to explain here.

Showing progress

There are two types of progress indicator, determinate and indeterminate, depending on whether the task is quantifiable and progress is measurable. Determinate indicators are always preferred, as they inform the user whether they need only wait only a few moments, or they have time to enjoy a leisurely meal, but that requires quantifiability and measurability.

The simple example is copying a file from one disk to another: although macOS doesn’t know in advance how long that might take, it can quantify the task as the size of the file to be copied, then keep track of how much of that has already been completed. When half the size of the file has been copied, the progress bar can be set to half-way along its total length, so providing an accurate indication of progress.

However, with some copy operations that breaks down: when copying a sparse file between APFS volumes, for example, only the sparse data is copied, not the whole file size. As a result, copying sparse files often results in progress bars that jump from a low point to completion in the twinkling of an eye. This also relies on the quantities involved being linearly proportional to the time required, an assumption that often breaks down when downloading from a remote server.

macOS updates

Updating macOS consists of a series of many tasks (see references at the end), of which only one, downloading, is both quantifiable and has measurable progress, and even that may be far from linear. Apple therefore has a choice of:

  • Display multiple progress indicators, appropriate to each phase. While that might work well for the download phase, it can’t work for others, including preparation, which is likely to take a period of several minutes at least.
  • Combine those into a single progress bar, as at present.
  • Use an indeterminate progress indicator, such as a spinning wheel, which would be reliable but unhelpful.

As downloading is the one task that is quantifiable and its progress is measurable, I’ll start there.

For this, the progress bar starts an an arbitrary 15%, and softwareupdated assumes the total size of that download is the magnitude of that task.

When the download has been completed, the progress bar reaches an arbitrary 55%, and its caption then changes to reporting progress with preparation.

There is a weakness in the assumption that becomes obvious when downloading from a local Content Caching server, as the final 1 GB or so normally isn’t provided from the cache, but has to be freshly downloaded from Apple’s servers. However, that isn’t normally apparent when caching isn’t available and the whole of the download comes from the same remote source.

For the remainder of the progress bar, between 0%-15% and 55%-100%, the task is neither quantifiable nor measurable. Instead, softwareupdated divides it into a series of subtasks, each of which has a fixed progress level. One list of subtasks and levels obtained from the log is given in the Appendix at the end.

The disadvantage of that strategy is that time required by each subtask varies with the update and the Mac being updated. Inevitably, computationally intensive subtasks will proceed more rapidly on newer and faster Macs, while those mainly constrained by disk speed should be more uniform. Large updates should take significantly longer, and that will vary by subtask as well.

The last 5 minutes

A particular problem with some more recent macOS updates, including that from 26.3.1 to 26.4 last week, has been unmarked progress over the final “5 minutes” of preparation. While indeterminate progress indicators continue to move over that period, and reassure the user that the task hasn’t ground to a halt or frozen, the progress bar shown had no intermediate points, making it easy to misinterpret as failure to progress. If this is going to be a feature of future macOS updates, Apple needs to insert some intermediate points to let the user know that the update is still proceeding.

Conclusion

A progress bar that combines different measures of progress, such as download size and substages, can work well, but only if the user is aware of how to read it. As we only update macOS a few times each year, that isn’t sufficient exposure, and how it works needs to be made explicit.

Previously

How macOS 26 Tahoe updates 1
How macOS 26 Tahoe updates: 2 Finite state machines
How macOS 26 Tahoe updates: 3 Catalogues and preparing to download
How macOS 26 Tahoe updates: 4 Download, preparation and installation
Read the macOS update progress bar

Appendix

Progress bar percentages set for some subtasks during updating macOS 26.2 to 26.3 on an Apple silicon Mac:

  • 000.1 ACCEPTED
  • 000.2 STARTUP
  • 000.3 LOADING_PERSISTED
  • 000.5 PURGING
  • 000.6 CANCEL_SUCORE
  • 000.7 CANCEL_MSU
  • 000.8 CANCEL_STATE
  • 000.9 READY
  • 001.0 RELOADING_SU
  • 002.0 RELOADING_ROSETTA
  • 003.0 RELOADING_UPDATE_BRAIN
  • 004.0 DOWNLOADING_UPDATE_BRAIN
  • 007.0 PREFLIGHT_WAKEUP
  • 009.0 PREFLIGHT_PREREQUISITE
  • 010.0 PREFLIGHT_PERSONALIZE
  • 015.0 DOWNLOADING_ROSETTA
  • 016.0 DOWNLOADING_UPDATE
  • 054.0 DOWNLOADED_UPDATE
  • 055.0 PREFLIGHT_FDR_RECOVERY
  • 060.0 PREPARING_UPDATE
  • 099.0 PREPARED
  • 100.0 COMPLETED

Note the majority of the progress period (79%) is assigned to downloading (15%-55%) and preparing (60%-99%).

❌
❌